Cinema Room – Brief
In 2022 we took the decision to transform one of our areas into a dedicated high-end Home Cinema demonstration room. Our team has the experience of undertaking very similar projects, however this time we were the client and we set very high challenges for ourselves!
The first challenge was to create a design that provided a Home Cinema experience, but was also relevant to our clients that want dual use of the space as a high-end entertaining space / Living Room.
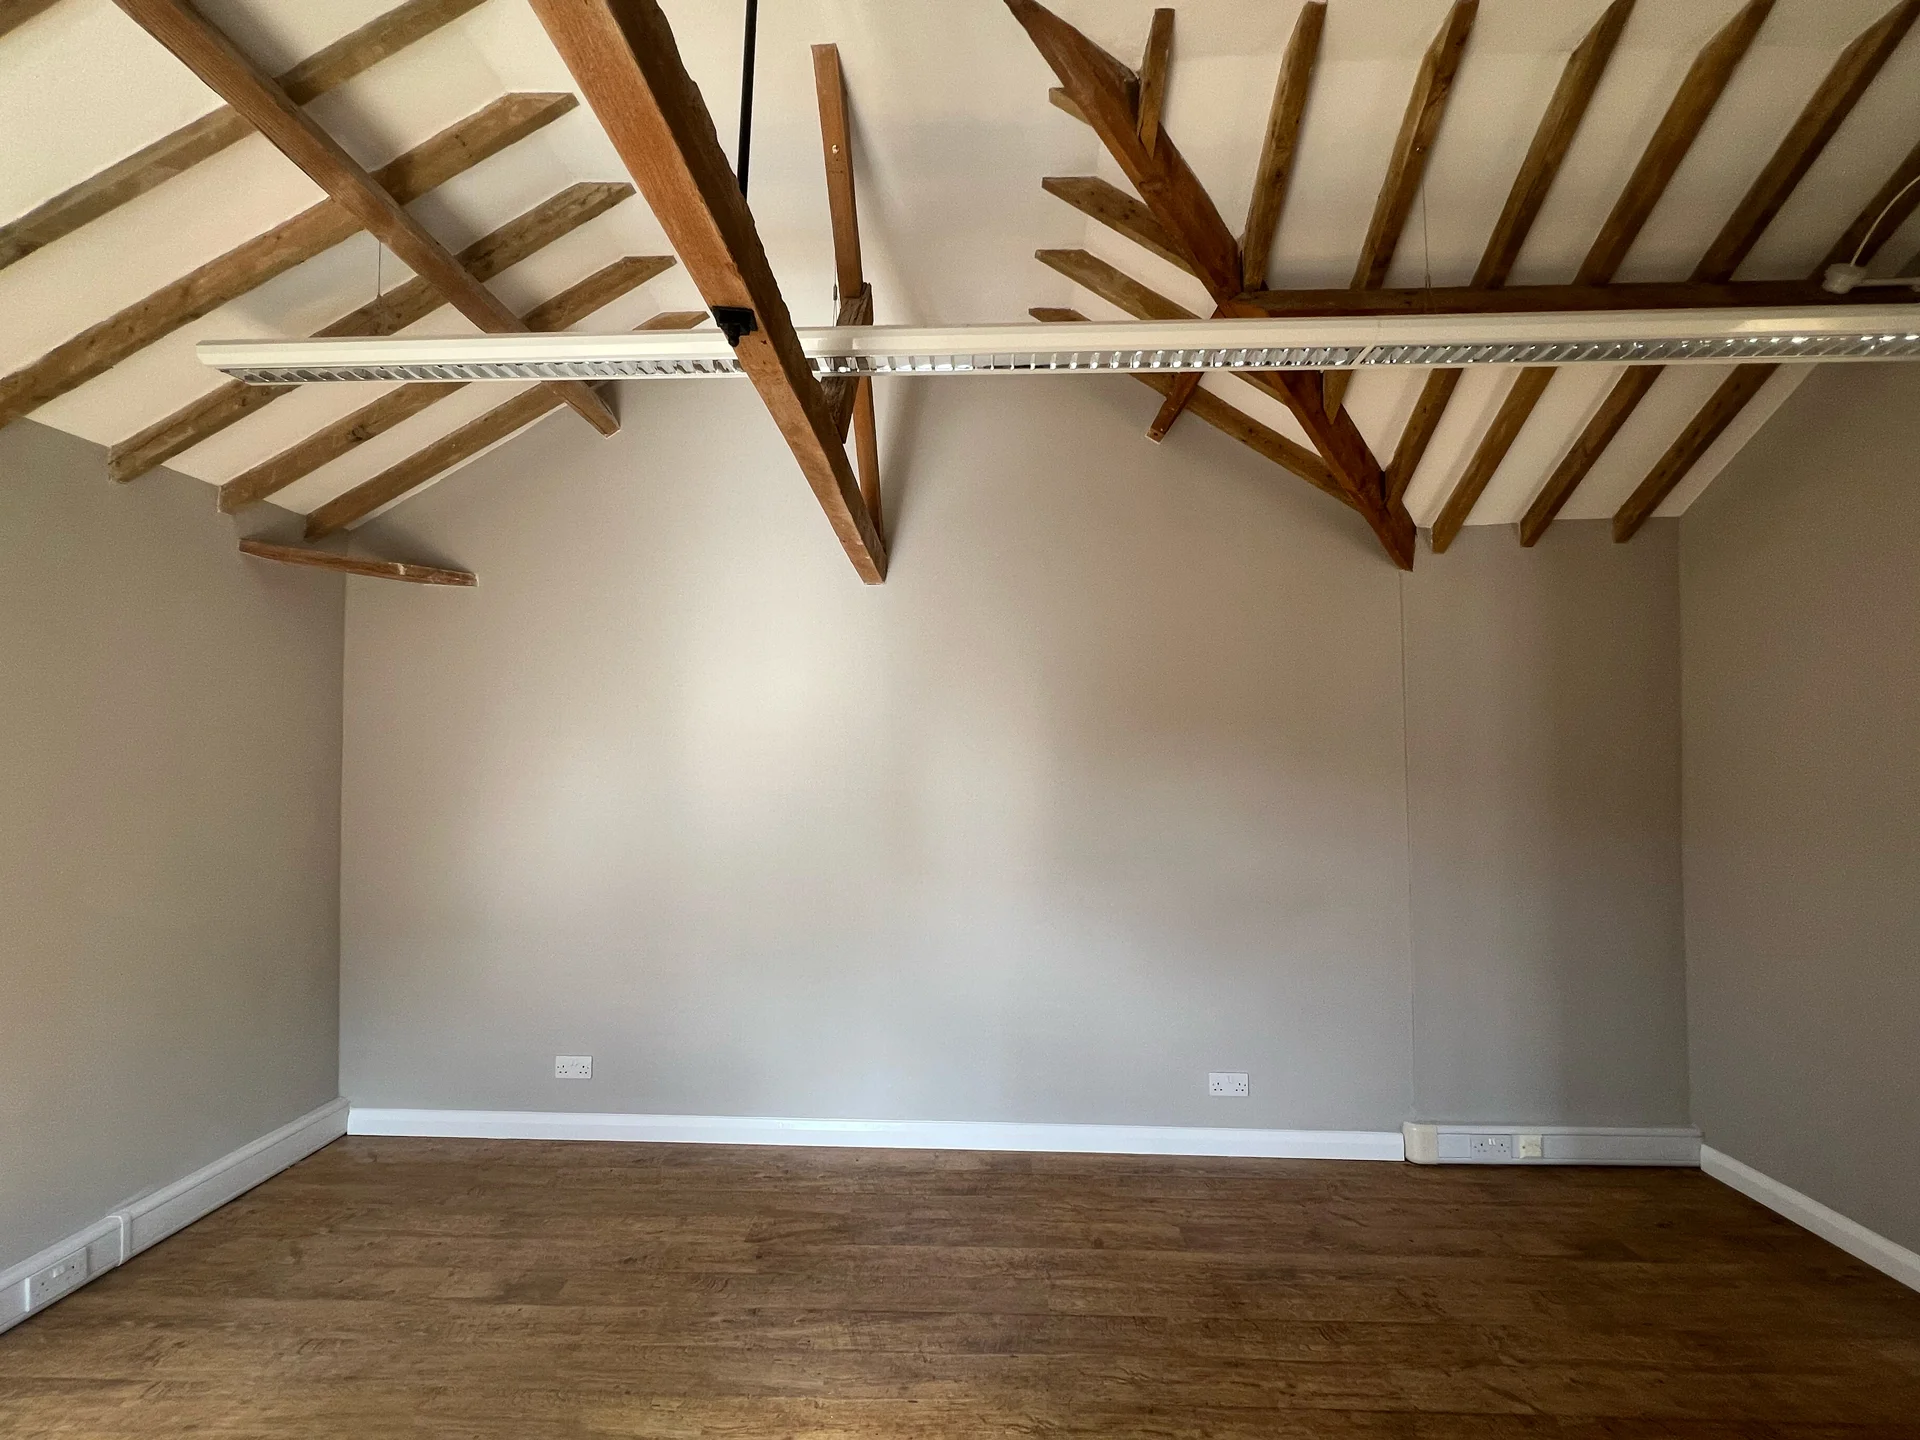
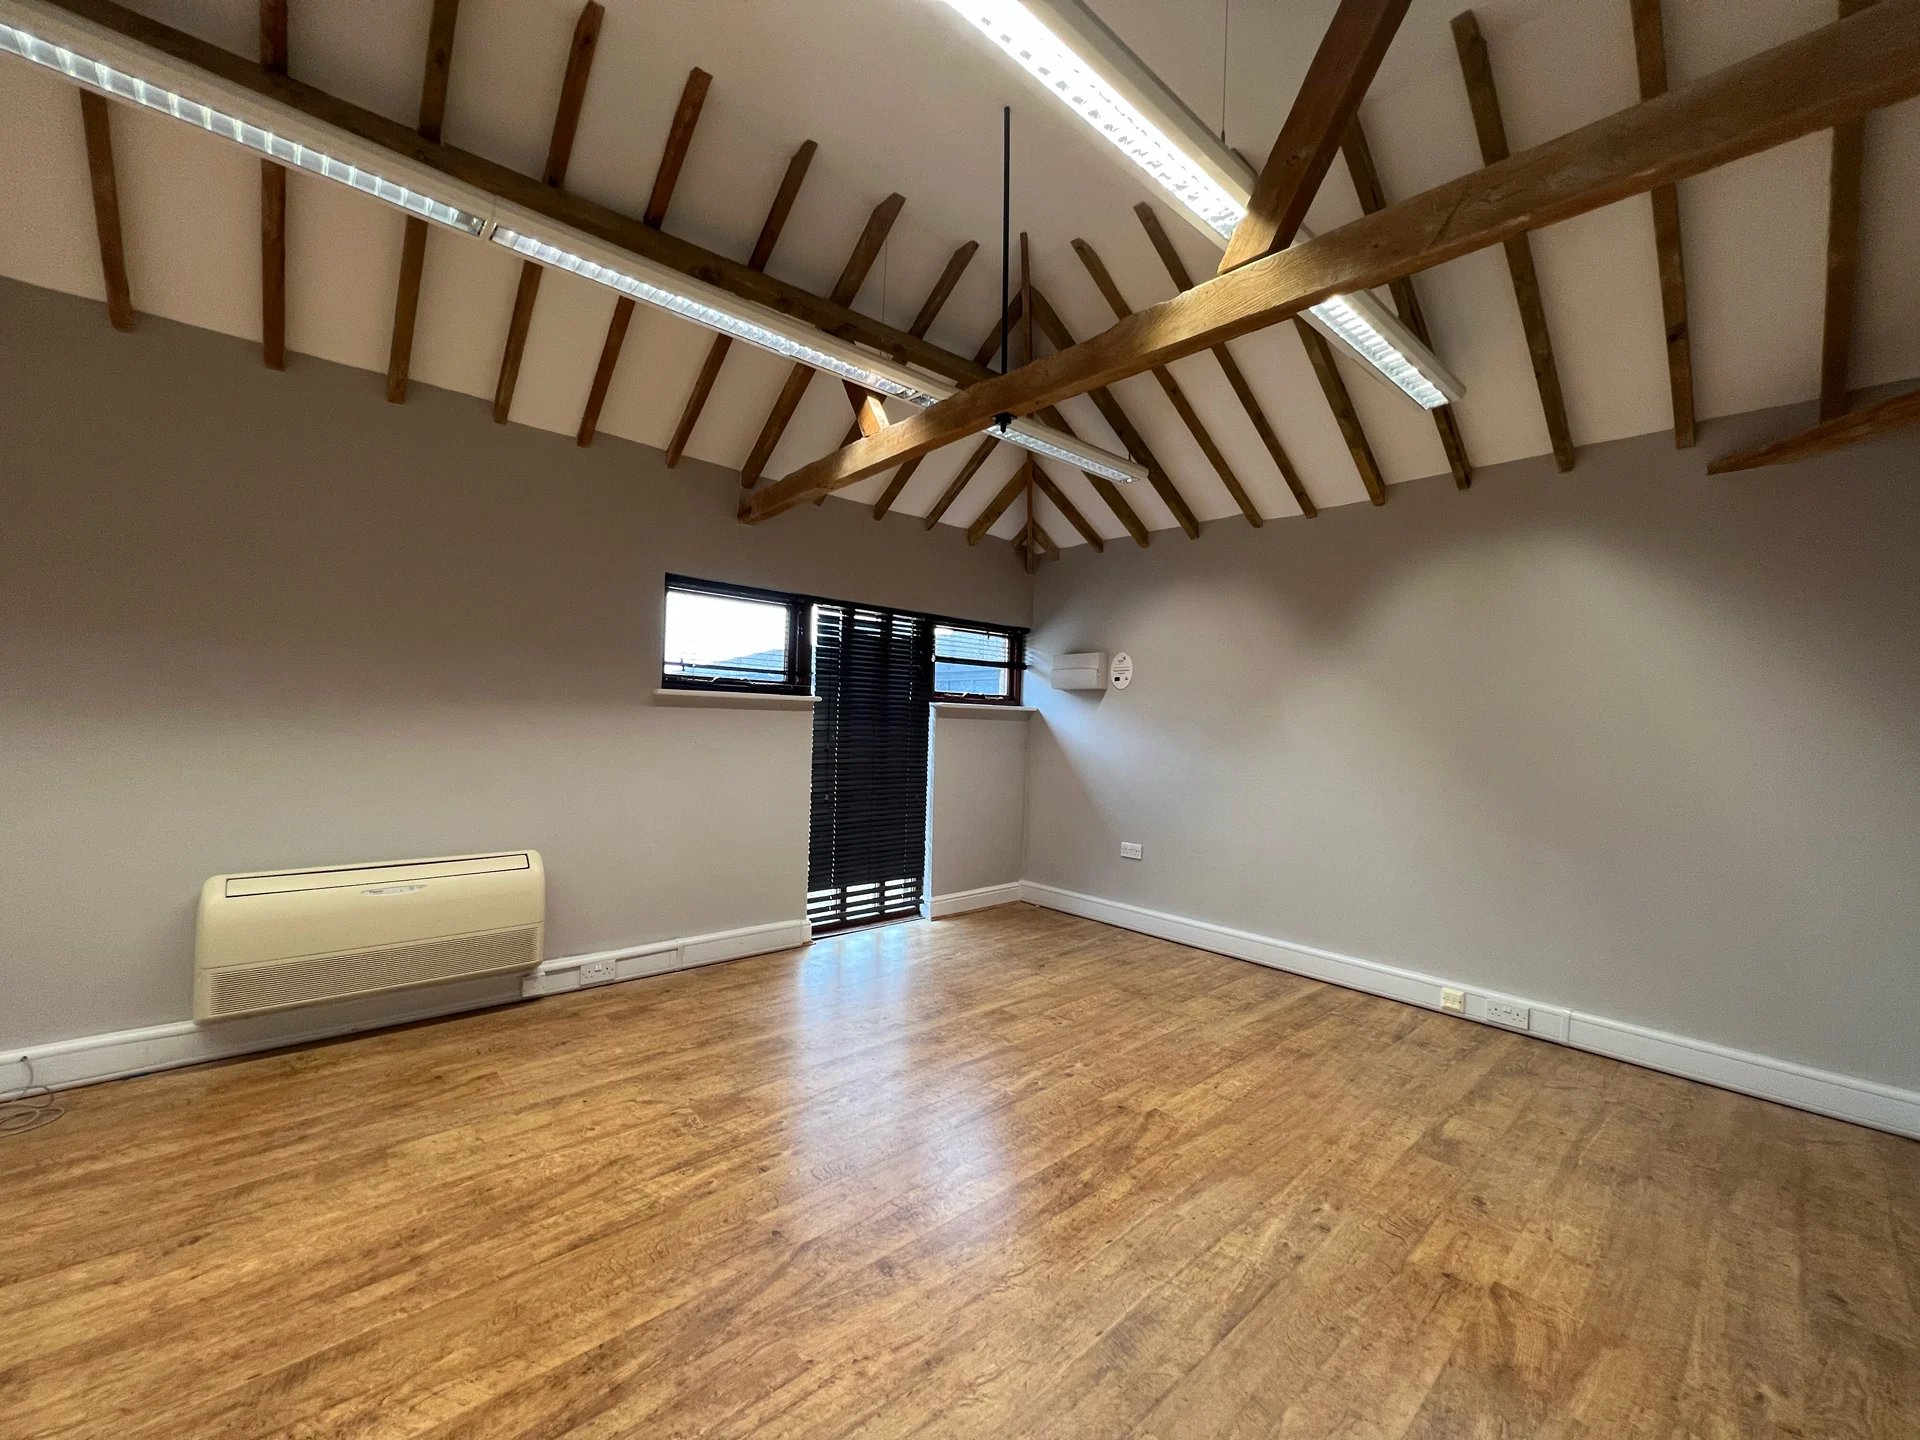
The second challenge was to bring in current design styles whilst also complementing the barn structure of the room.
The third challenge we set ourselves was to incorporate two integrated audio systems (14 speakers!) and a 2.8m wide projection screen, in a room that measured 5.5m x 4.0m.
Stage 1 – Design
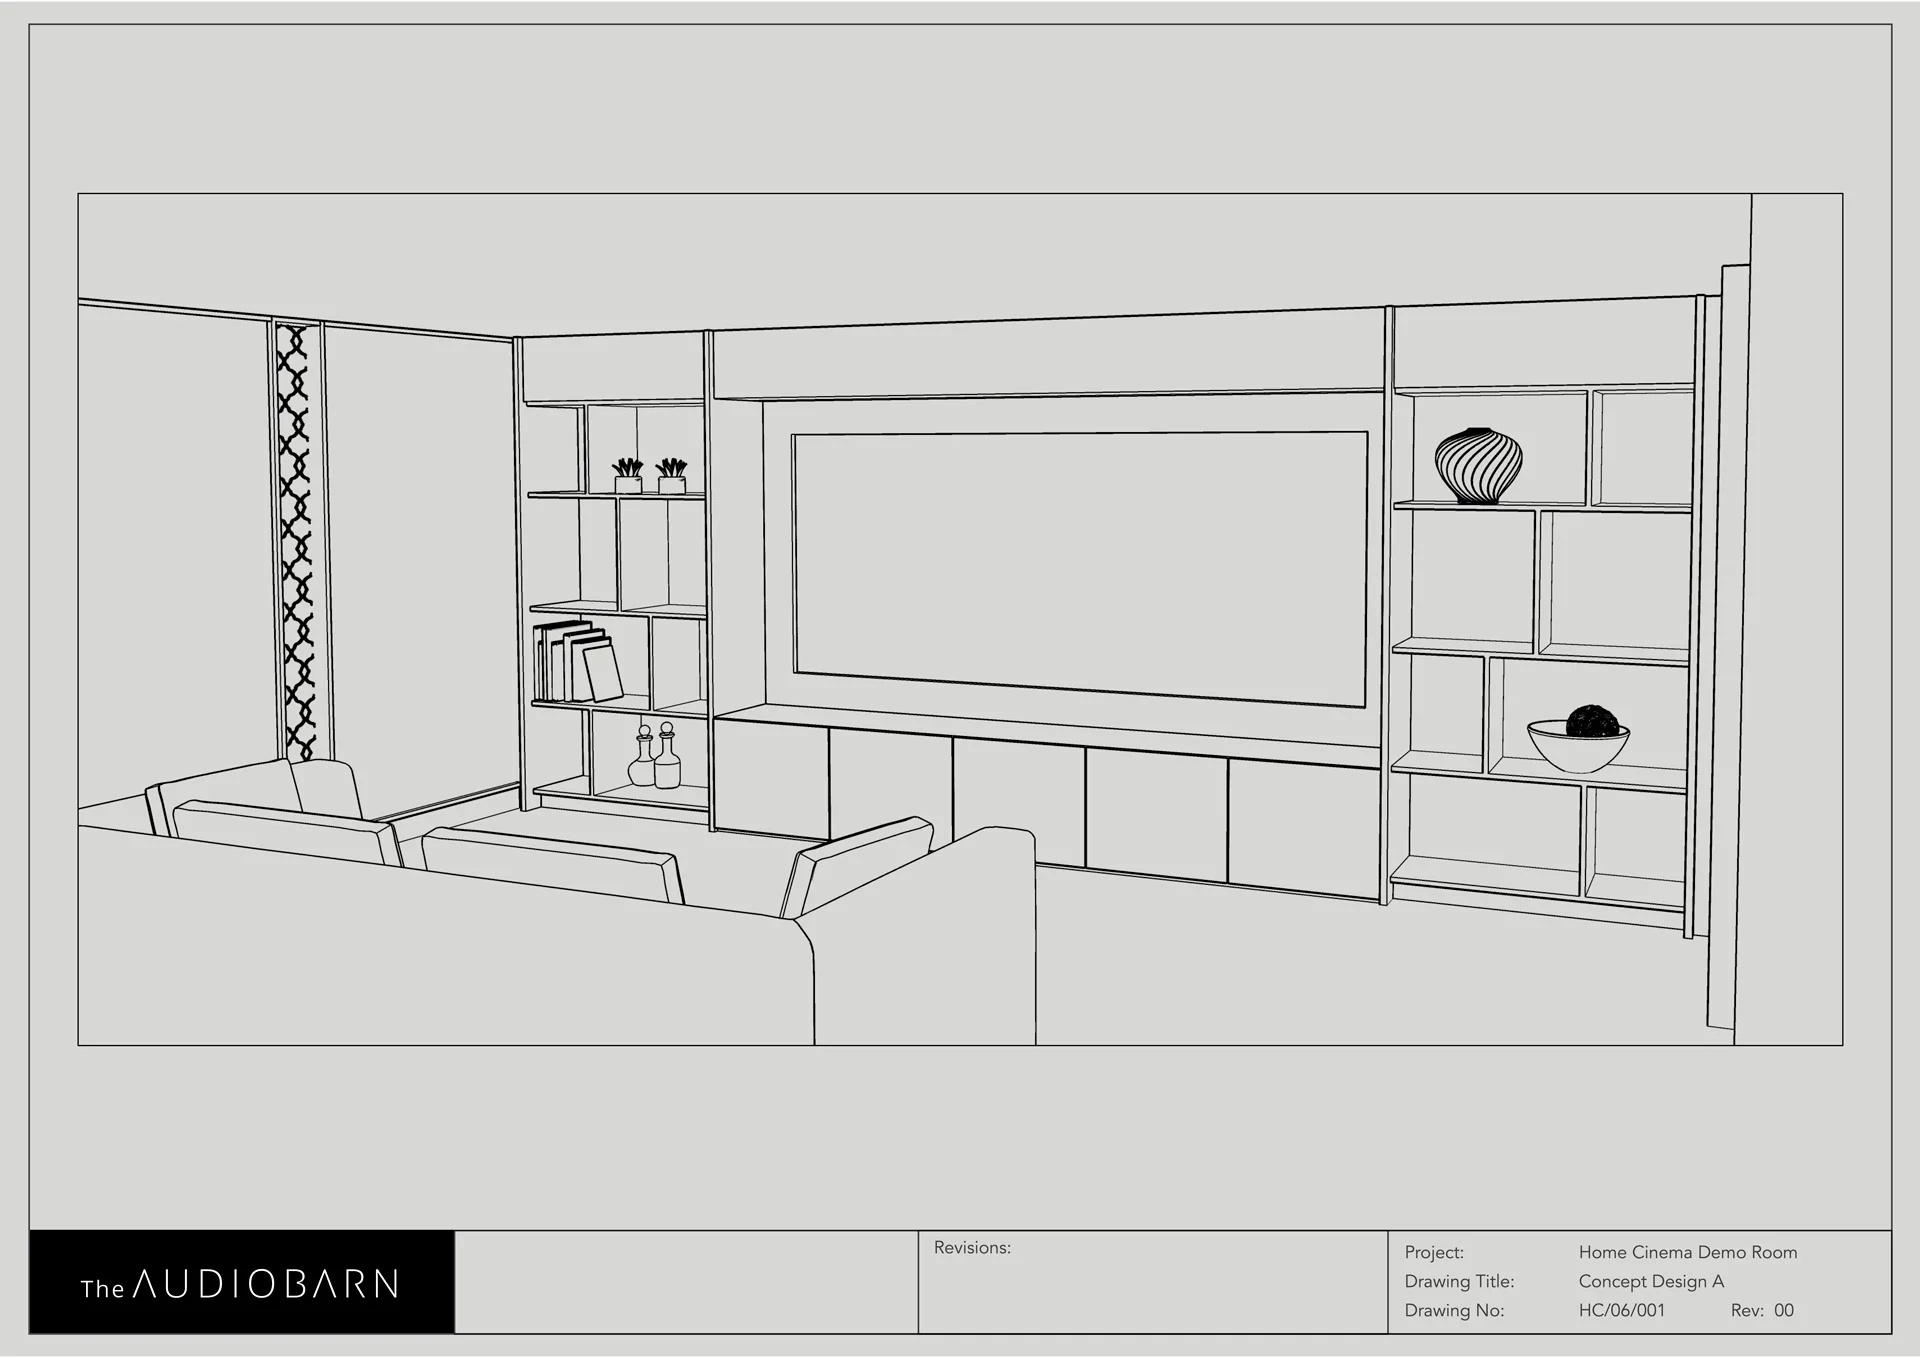
At the first part of our design process, Ben, our in-house designer developed 3D concept designs for the space, especially concentrating on the joinery wall and screen elevation.
The 3D models provide a good visual appreciation of the design. Once we had prepared our three concept design options, we made our selection based on the following criteria.
Finishes – At this stage finishes samples are reviewed and considered for each concept
Aesthetic Details – How does the design work within the space, taking into consideration the ‘Barn’ environment and heavily detailing of the room roof?
Layout – How does each option work with the multi-purpose use of the space?
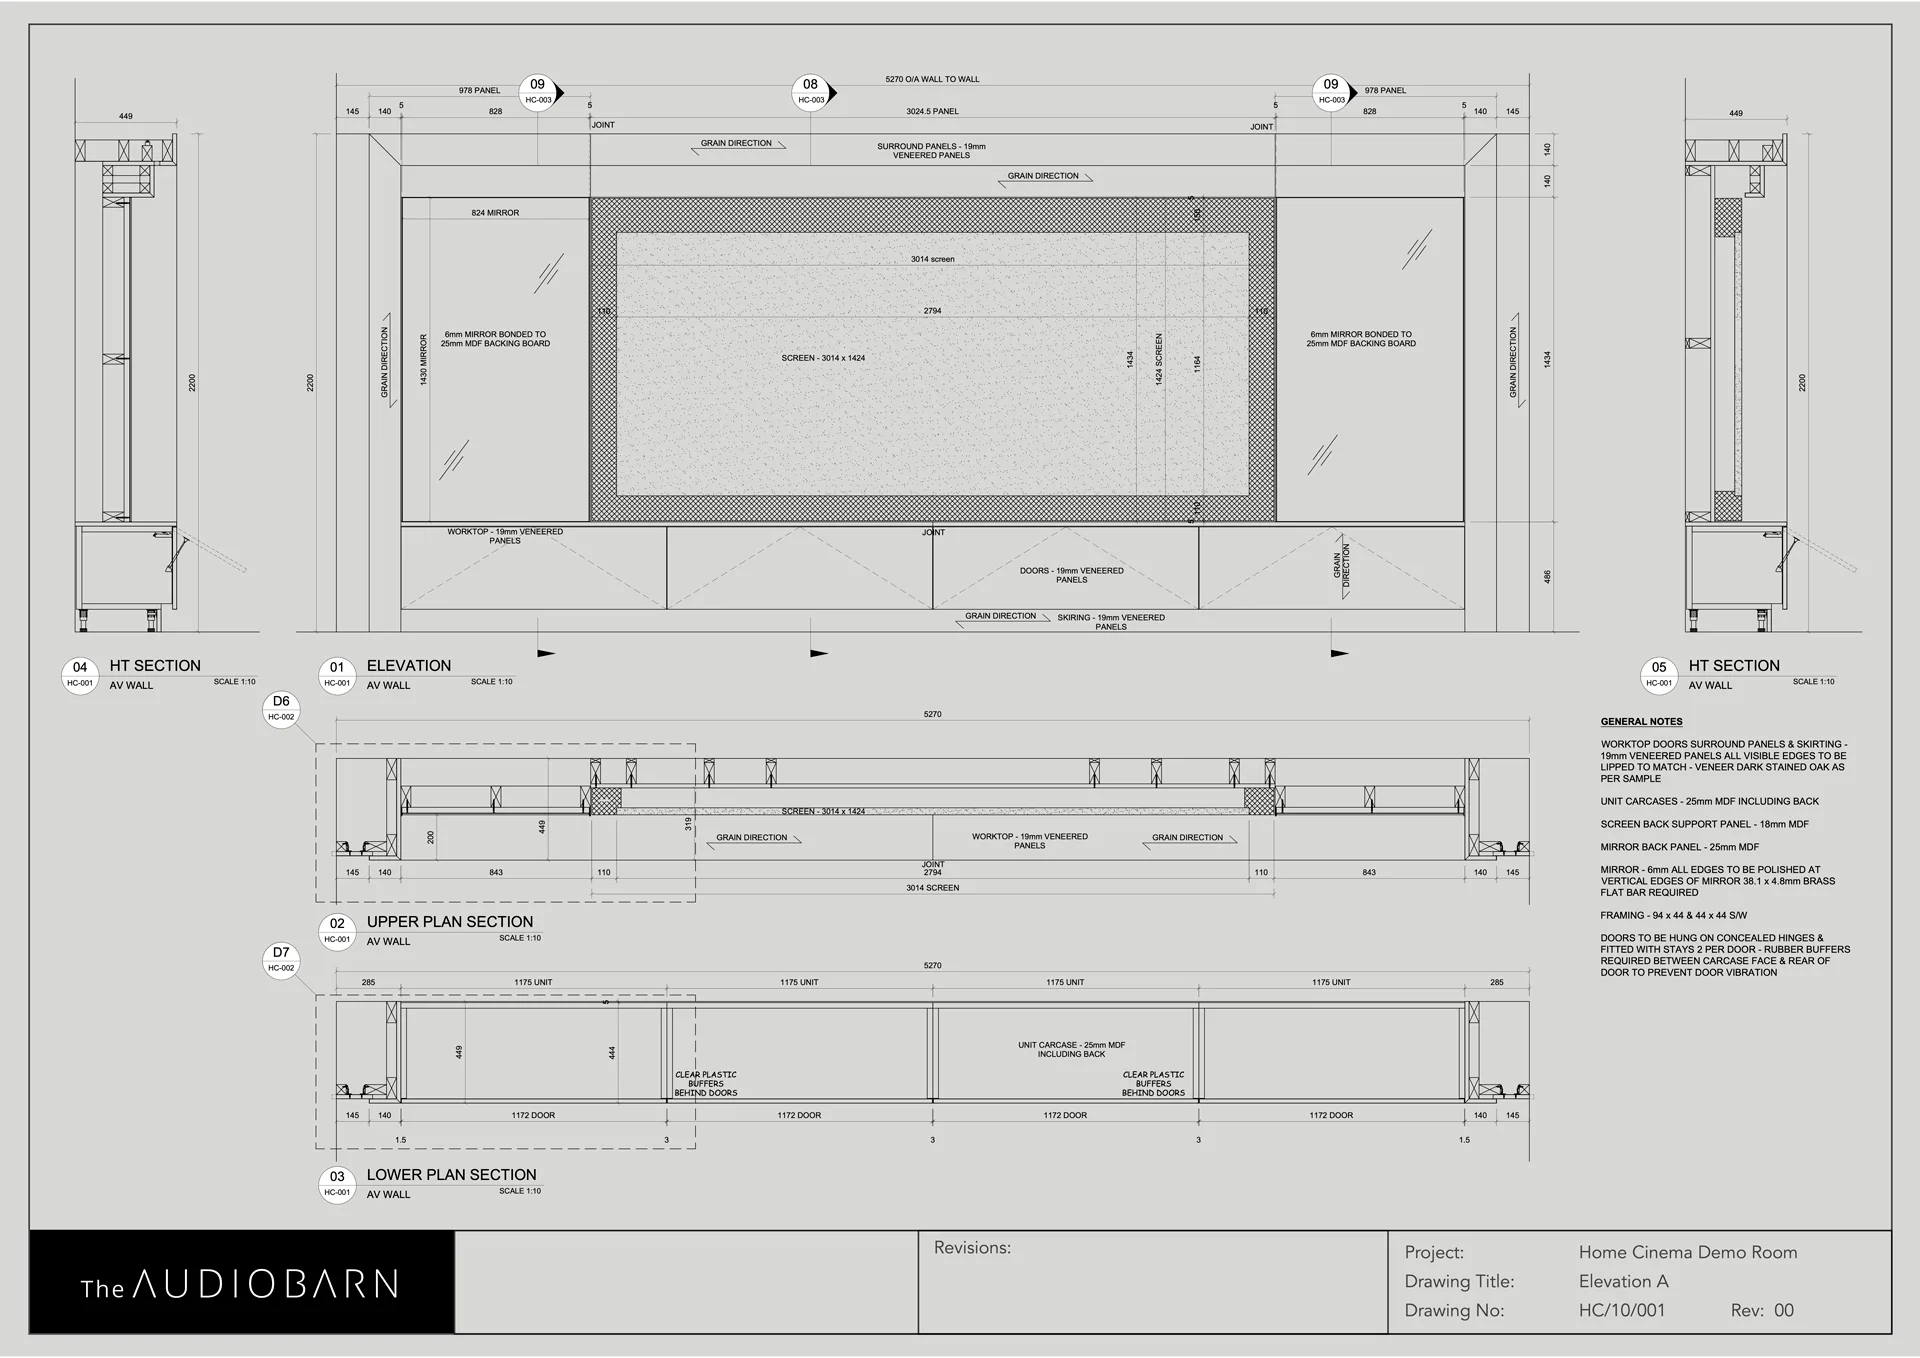
Once we decided on which concept design to proceed with, we developed the detailed design for joinery production and setting out of speakers. These drawings include all of the final details as well as finish specifications.
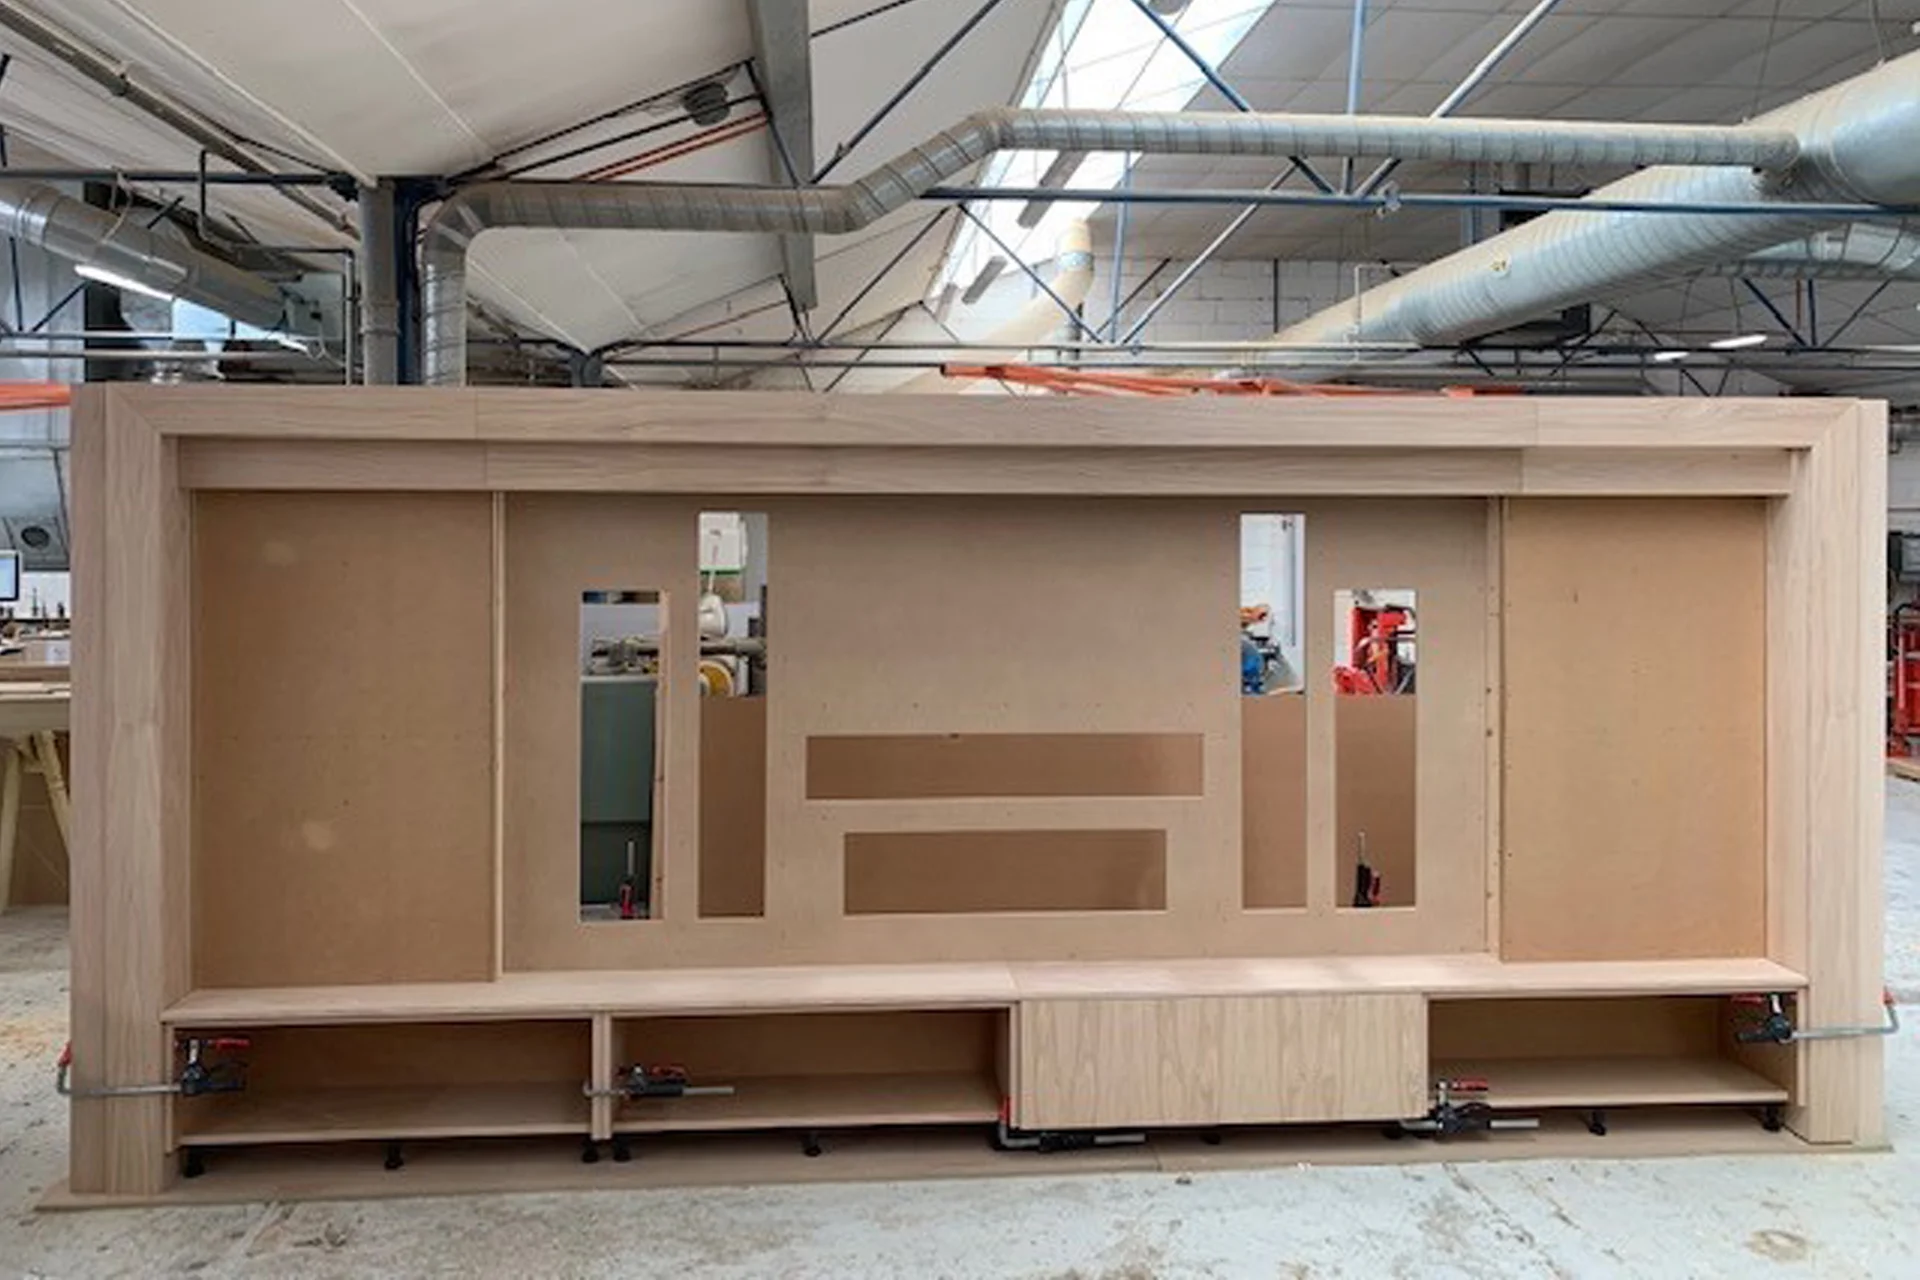
Stage 2 – Bespoke Joinery
All of our joinery is manufactured by our local supply chain partner in their large state-of-the art factory.
Designs are fully dry assembled to ensure tight tolerances are adhered to.
Once we have signed off the dry assembly, the joinery is broken down and spray lacquered to finish.
Our display joinery wall also has a hand applied stain to the Oak before having the finishing lacquer coats for that extra luxuriant feel.

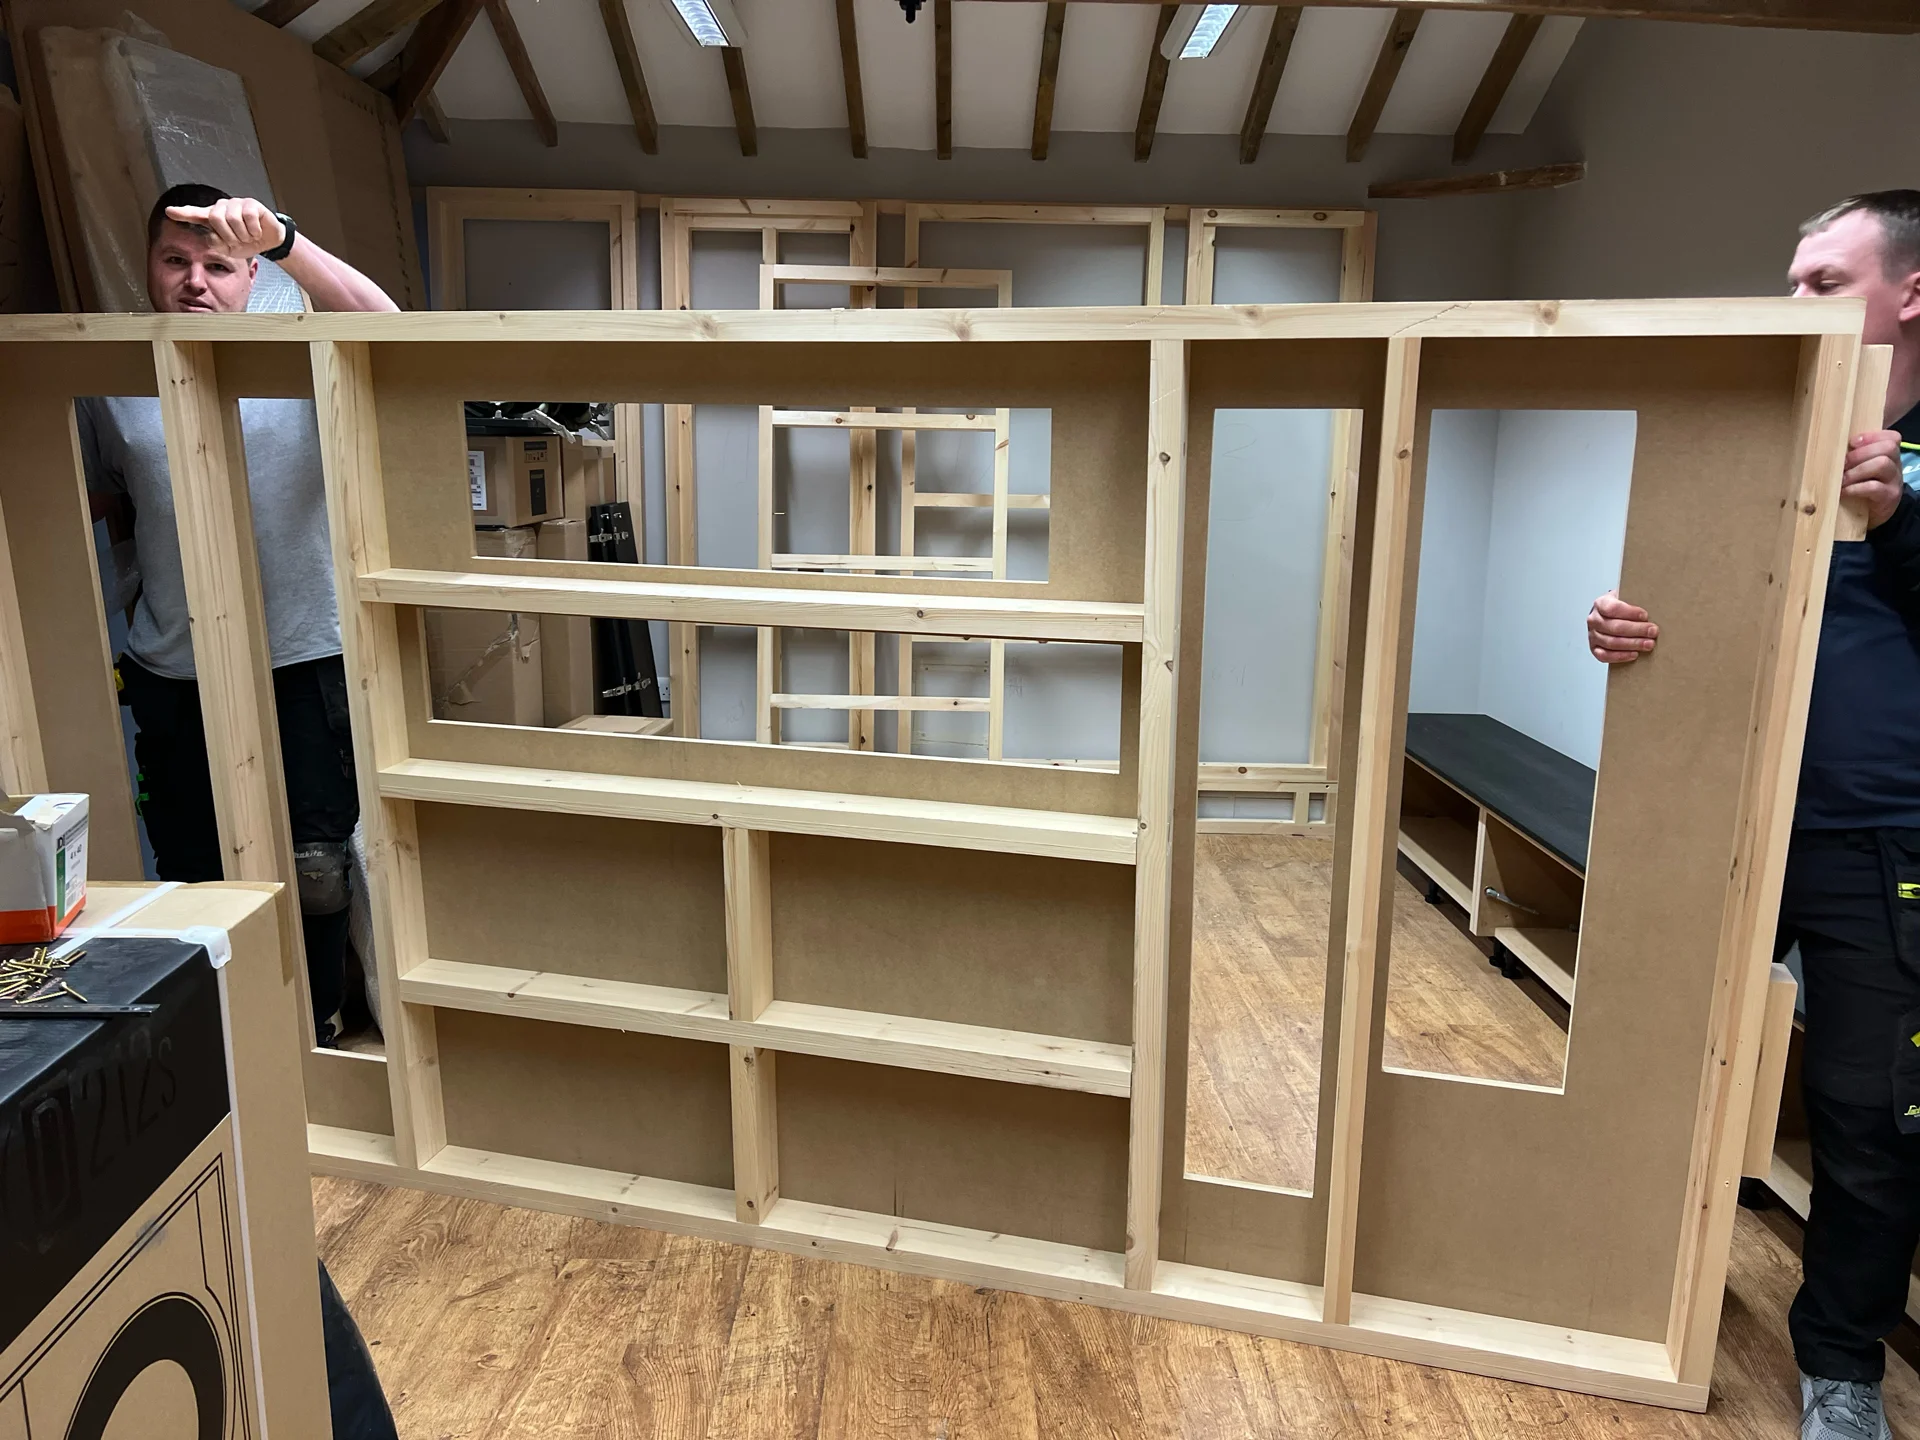
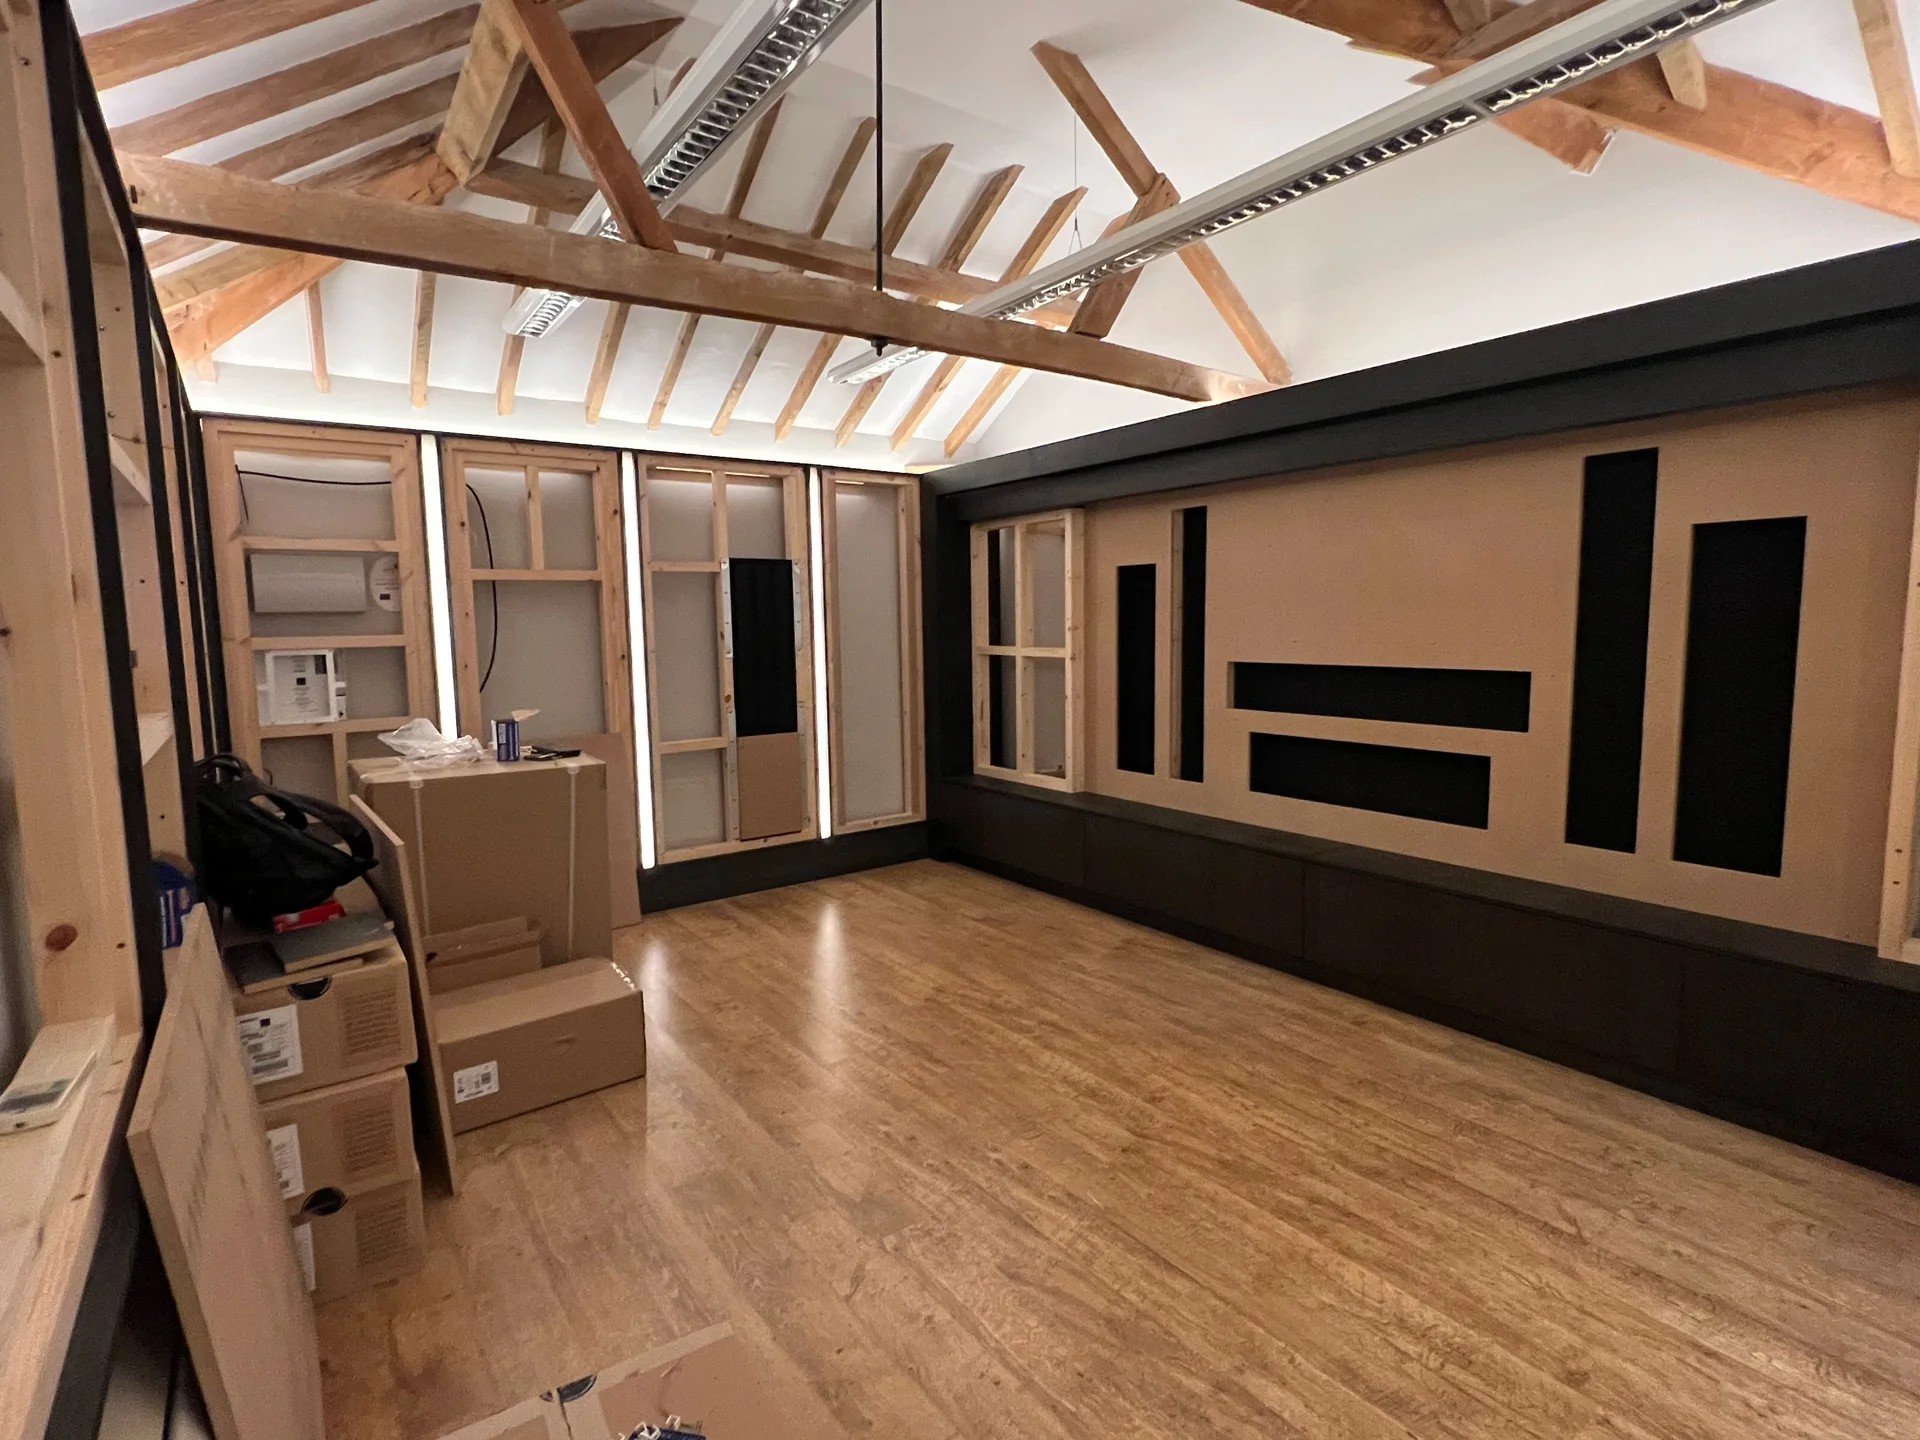
Stage 3 – Joinery Installation
Timber stud-work walls are installed to provide a robust structure for the mounting of wall speakers, stretched acoustic fabric, and feature lighting.
Each frame is carefully designed and constructed to provide precise positioning of each element.
The factory finished joinery is installed, including the front speaker wall (located behind projector screen) which is constructed from large section timber to provide a rigid structure for the speakers to be mounted into.
The joinery also includes matching fabric wall trims and skirtings.
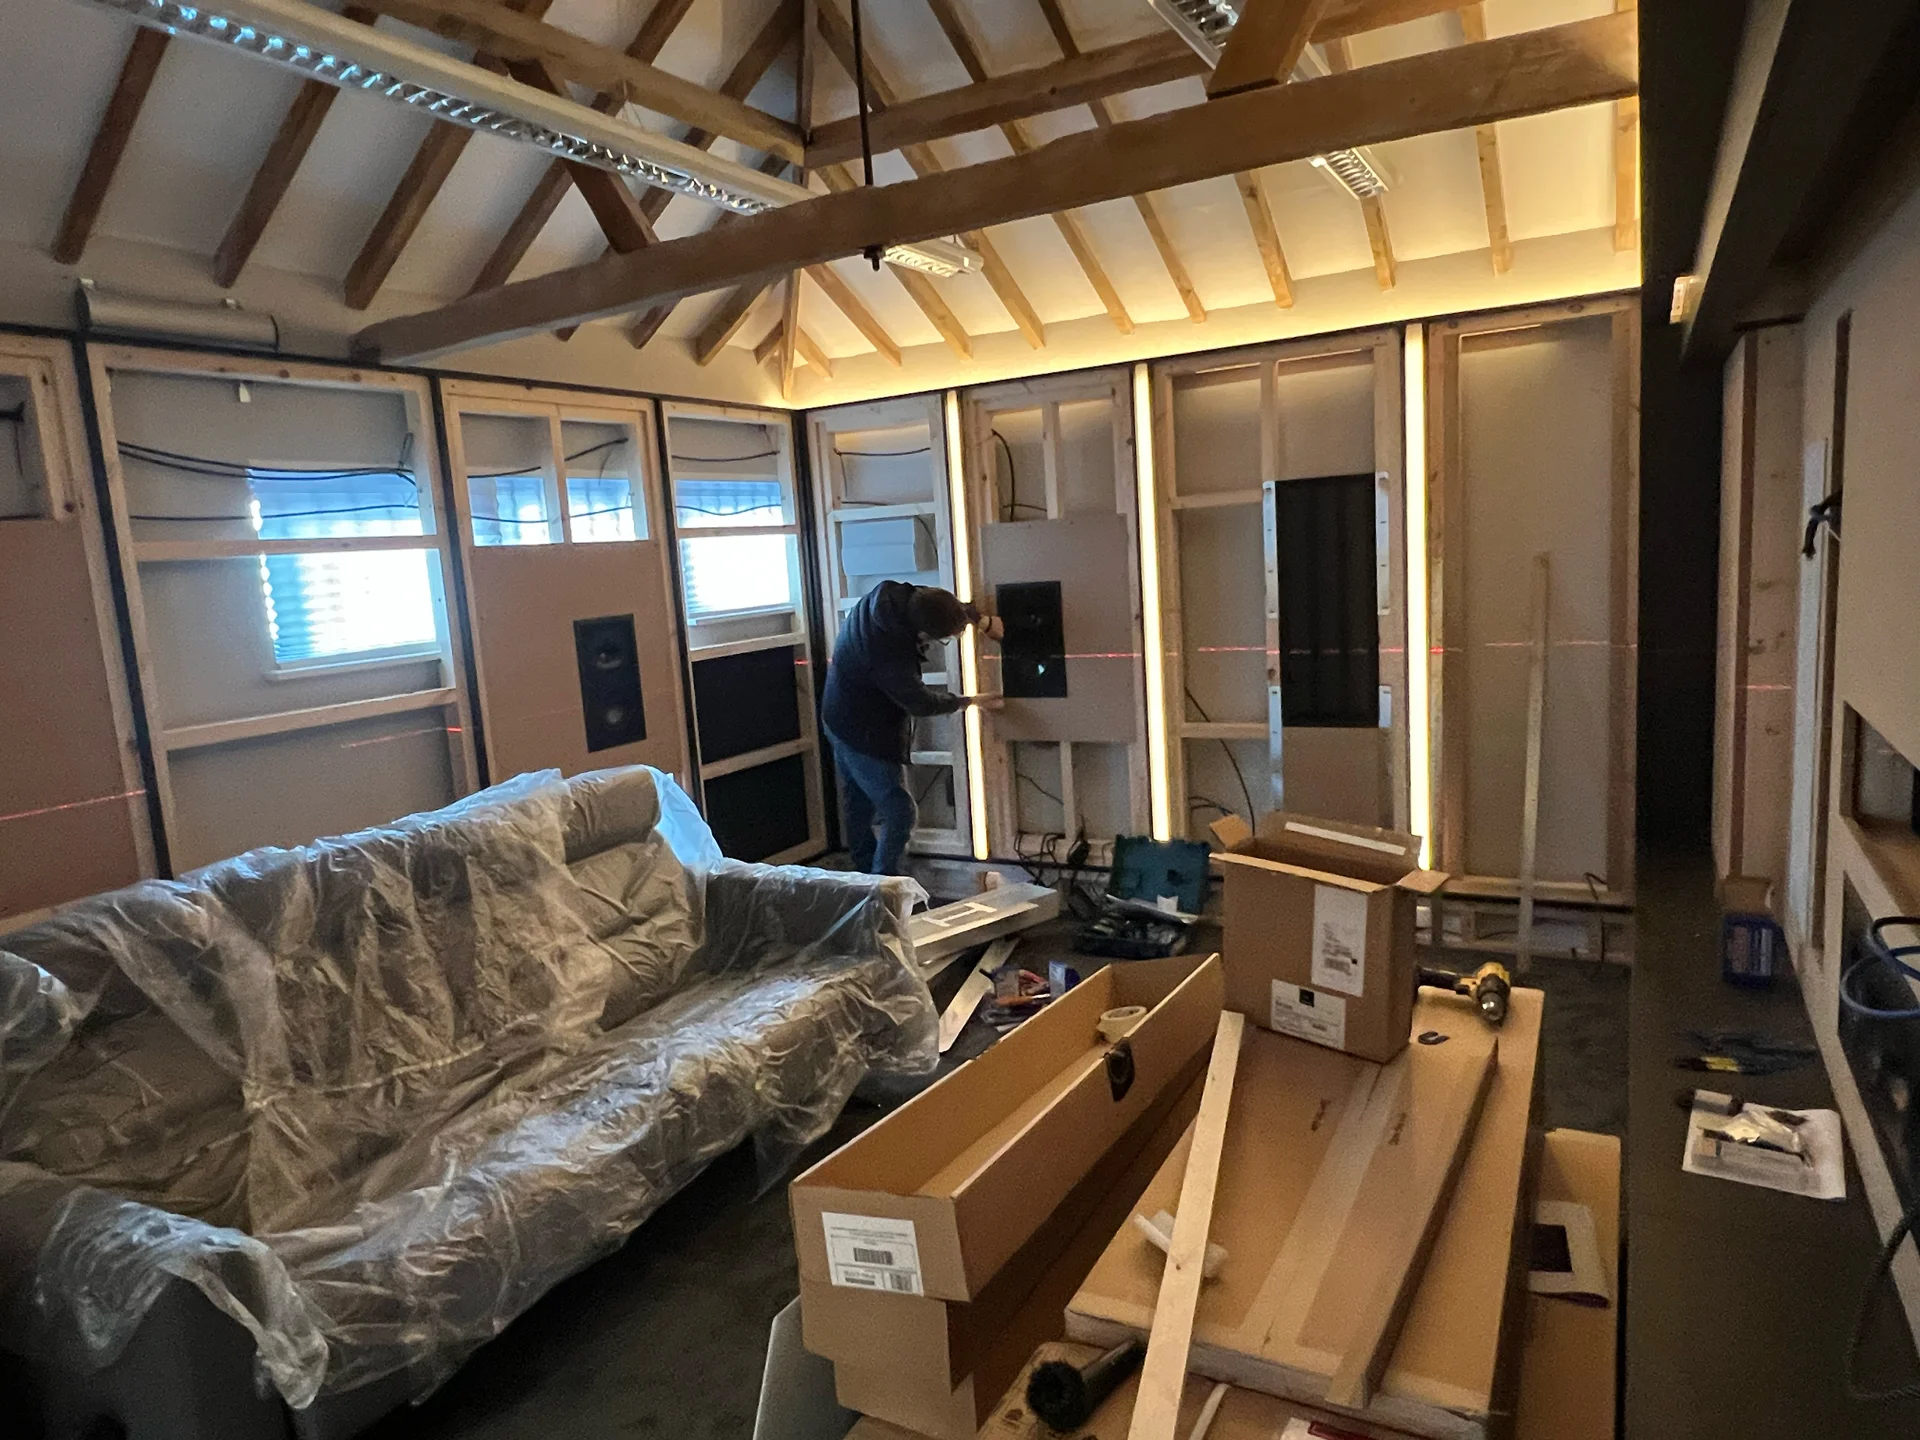
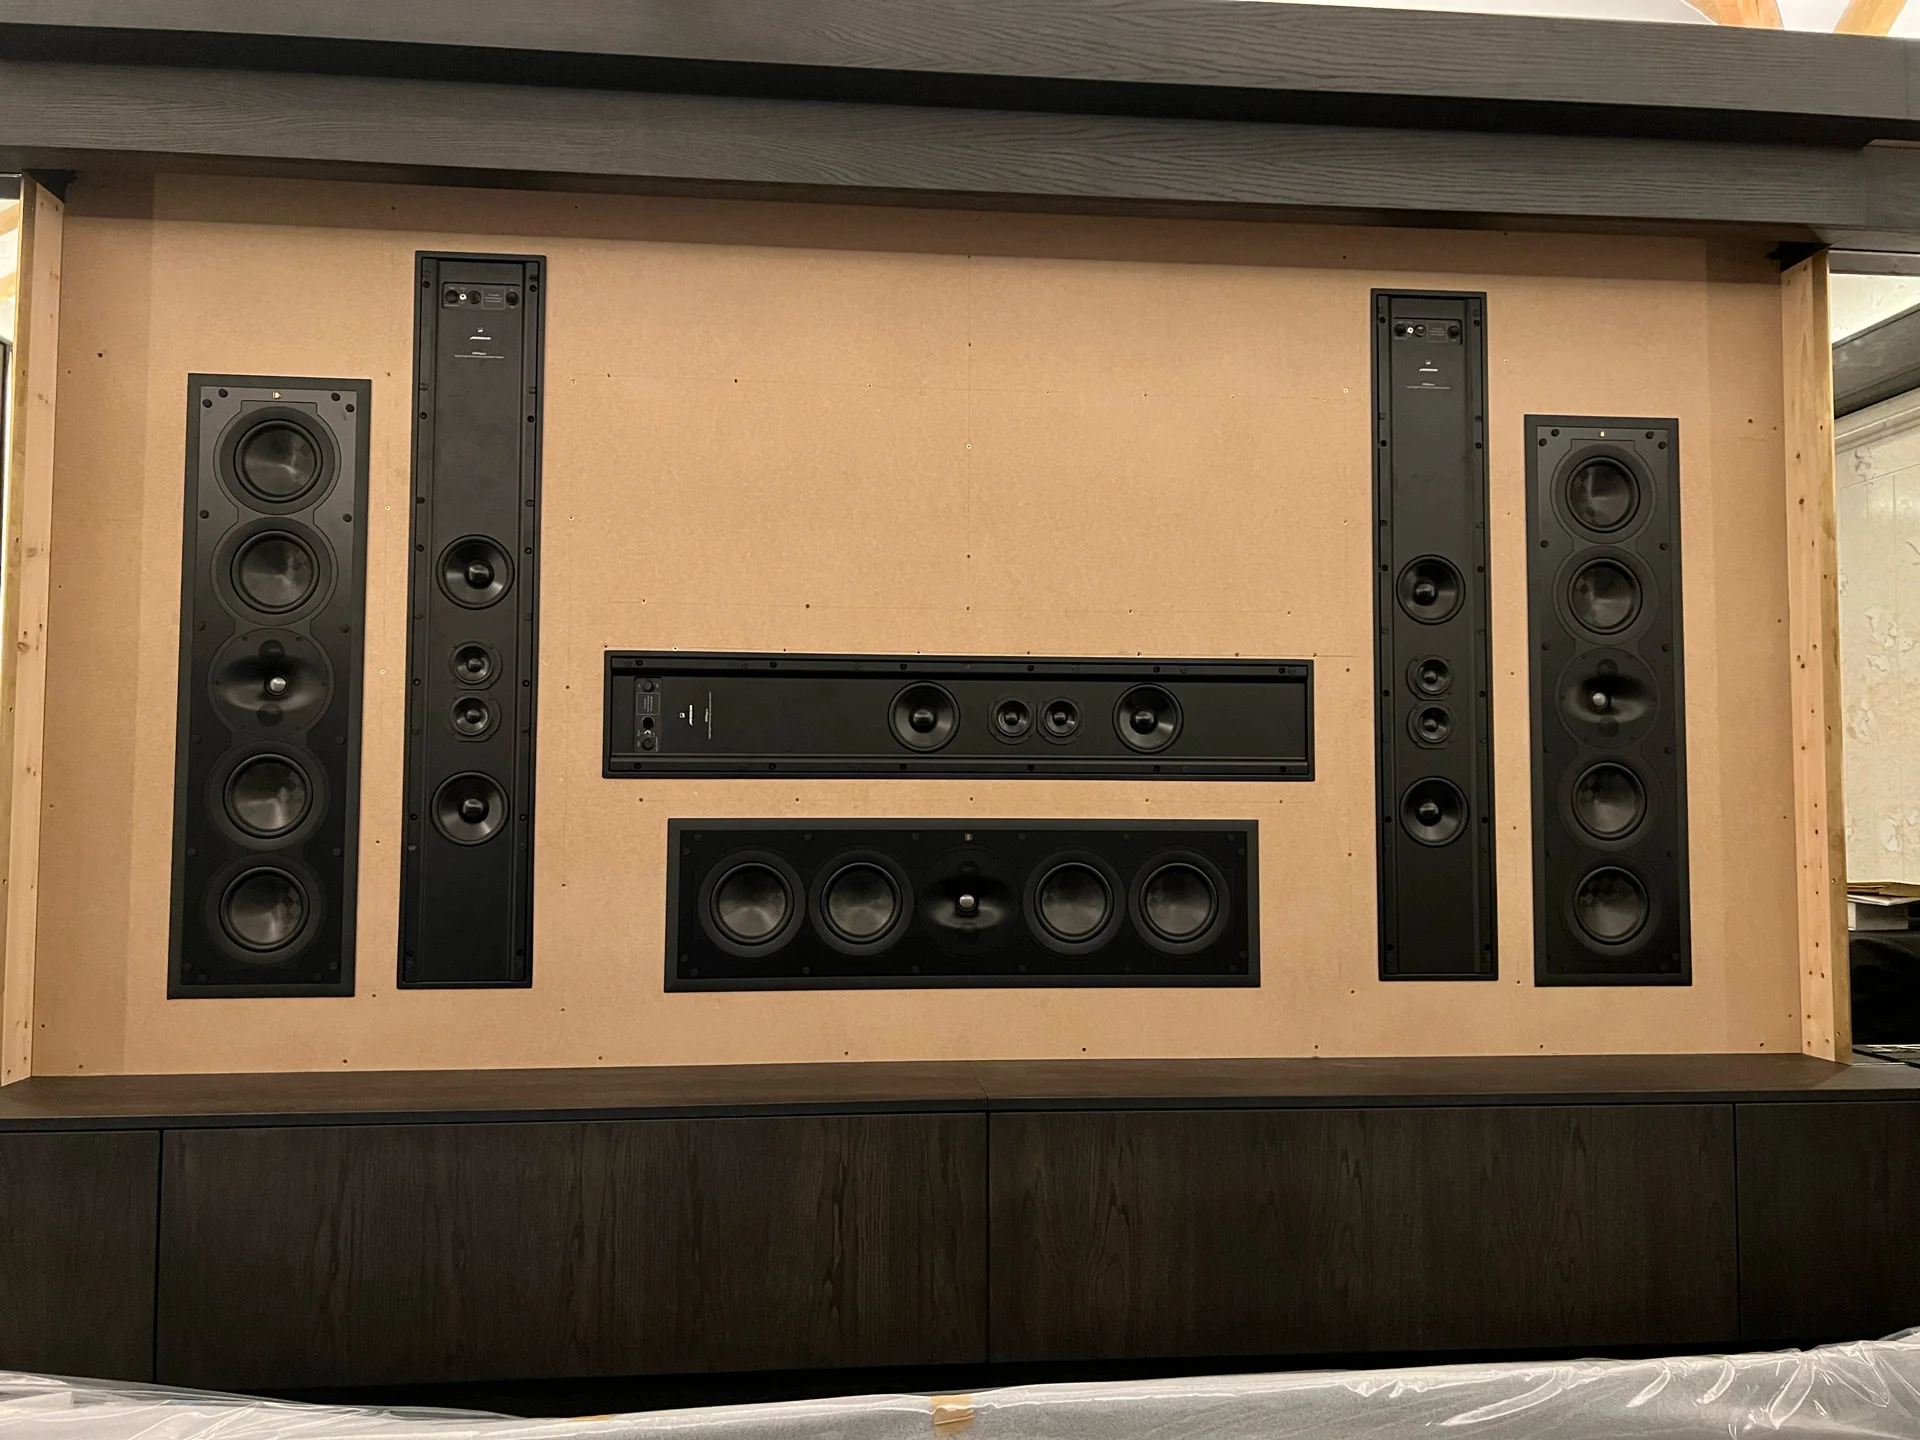
Stage 4 – Loudspeaker Install
Once the loudspeakers are install, the room really starts to feel like it’s coming together.
Speakers are installed and connected within the pre-formed apertures.
Finite adjustment is undertaken with a laser level to ensure the most actuate sound production of the completed installation.
Each speaker is secured in position in accordance with the manufacturers requirements, in order to achieve the full potential of the audio system.
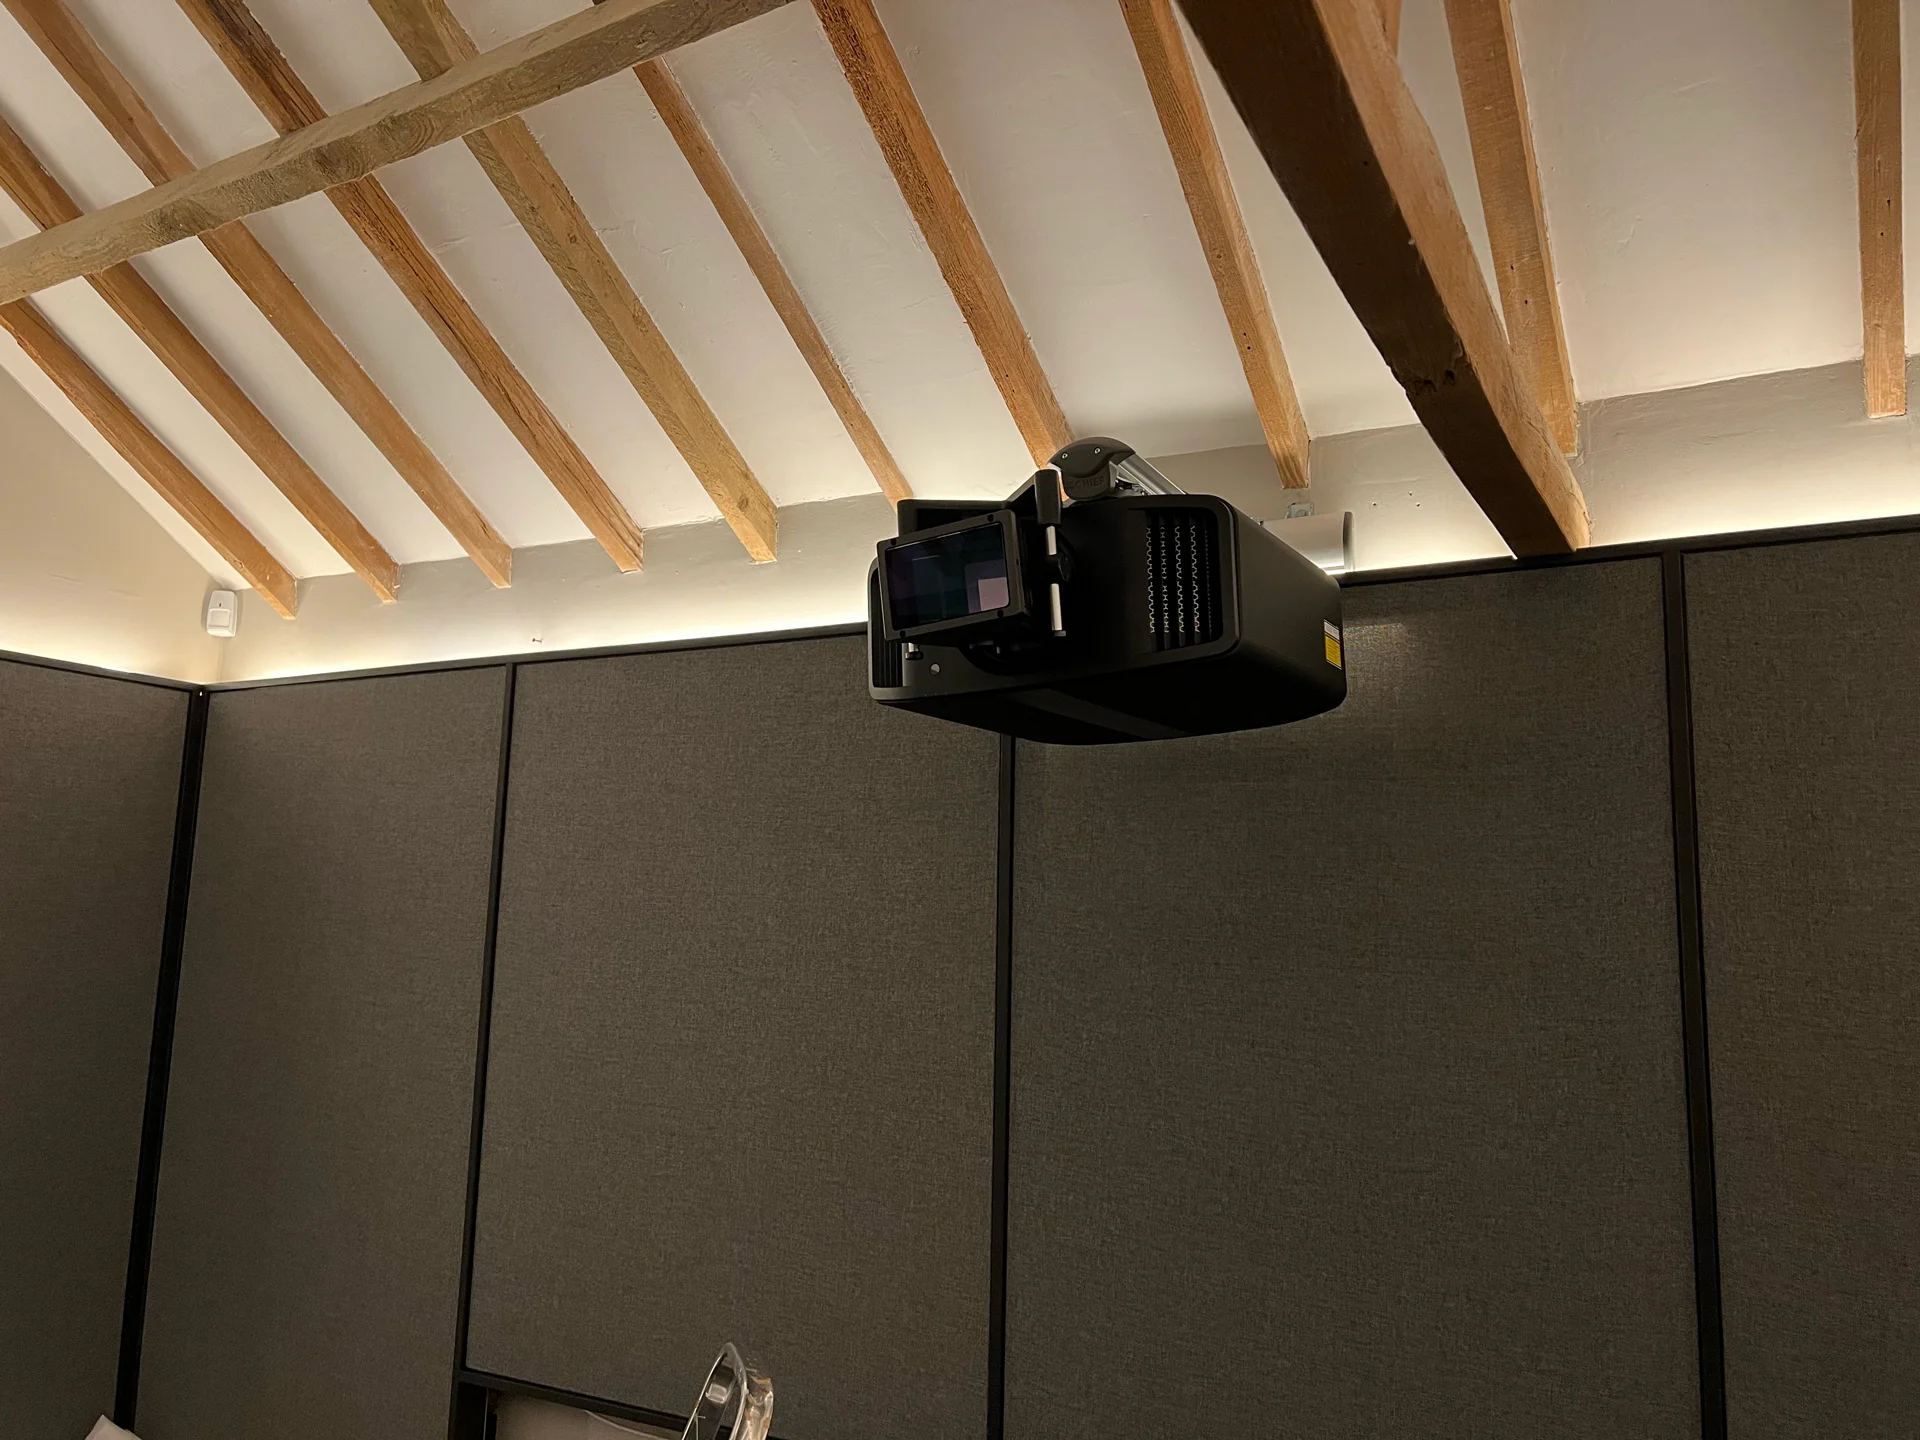
Stage 5 – Screen And Projector
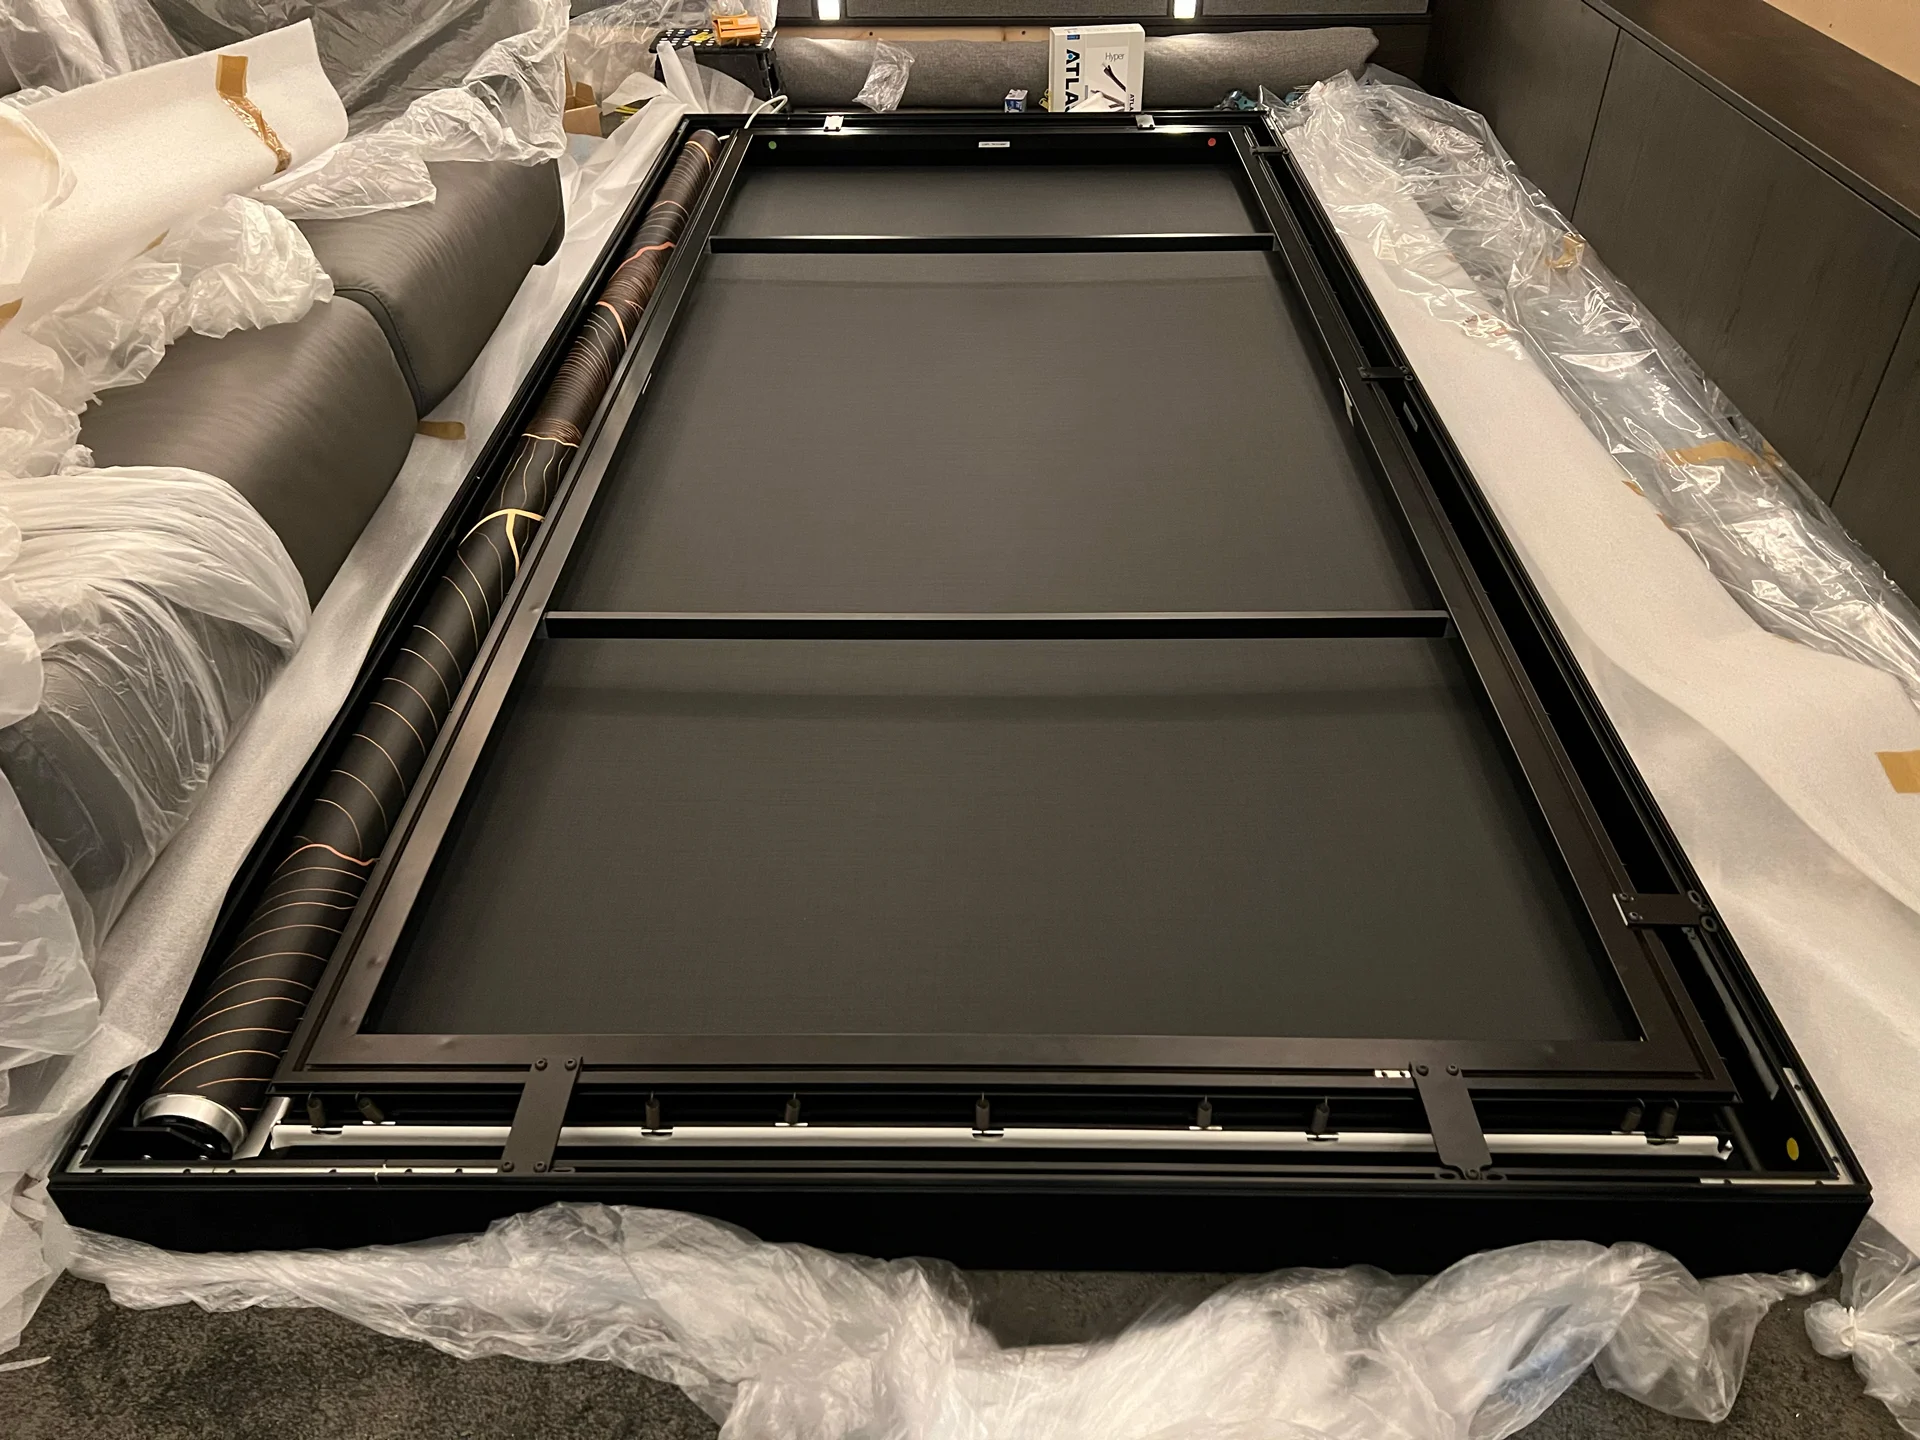
Next up the assembly of the masking projector screen and fixing to the joinery wall.
The projector, with anamorphic lens, is accurately installed and adjusted. We used an anamorphic lens in this installation, mounted to the front of the projector, to project an image at 2.4:1 ratio (cinematic) whilst maintaining all pixels from the 4K resolution.
We installed a ‘masking’ projection screen, where an acoustically transparent image/picture drops in front of the white screen. It’s the perfect solution allowing hidden positioning of speakers, whilst having artwork to be on show when the room is not used as a home cinema.
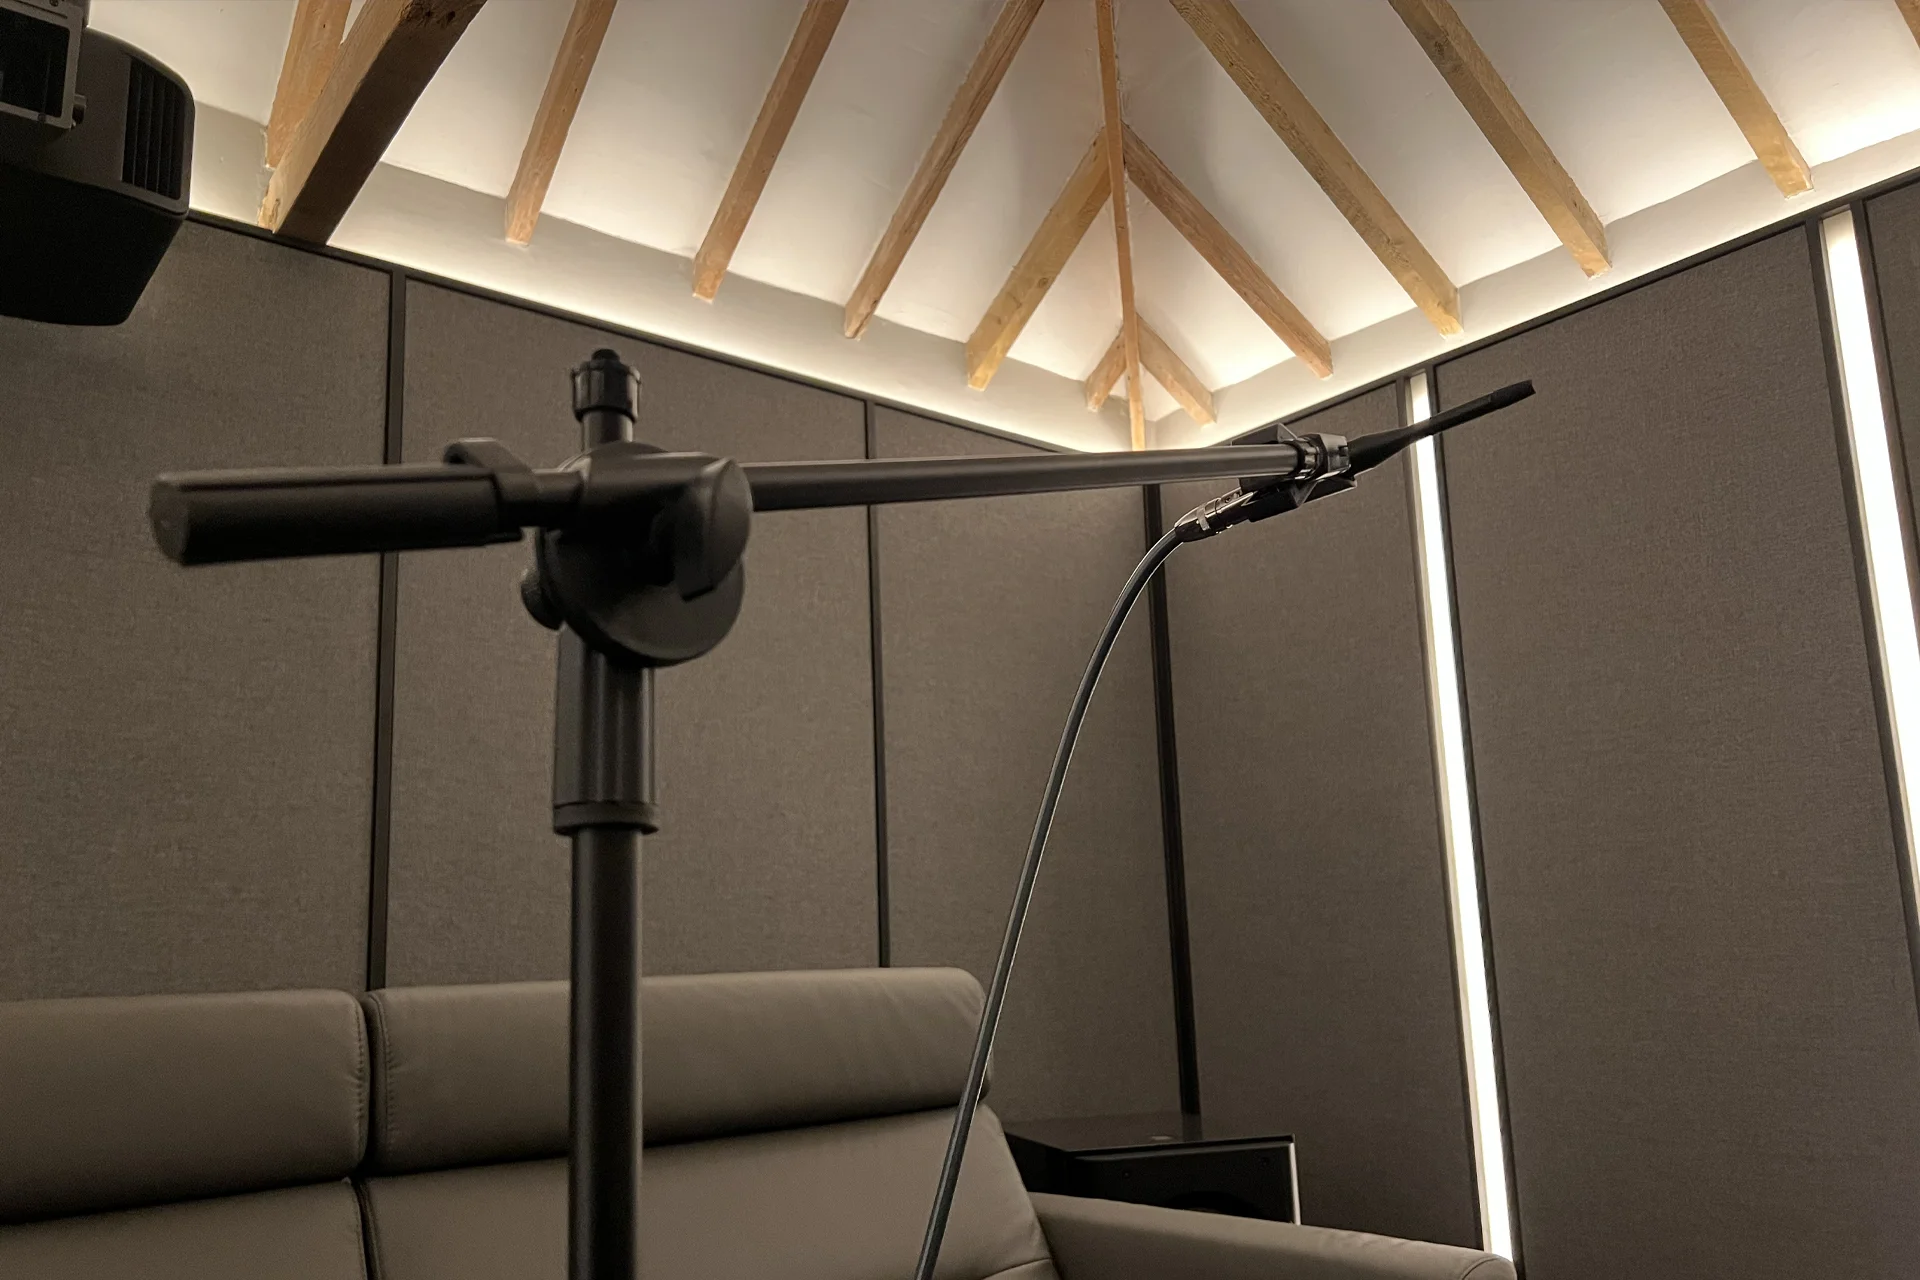
Stage 6 – Calibration, Programming and Operation
System calibration is undertaken by taking audio test tone readings at various points in the cinema room for each speaker. Then using specialist software, we analyse and make digital adjustments to the output to achieve the most accurate reproduction of the movie soundstage.
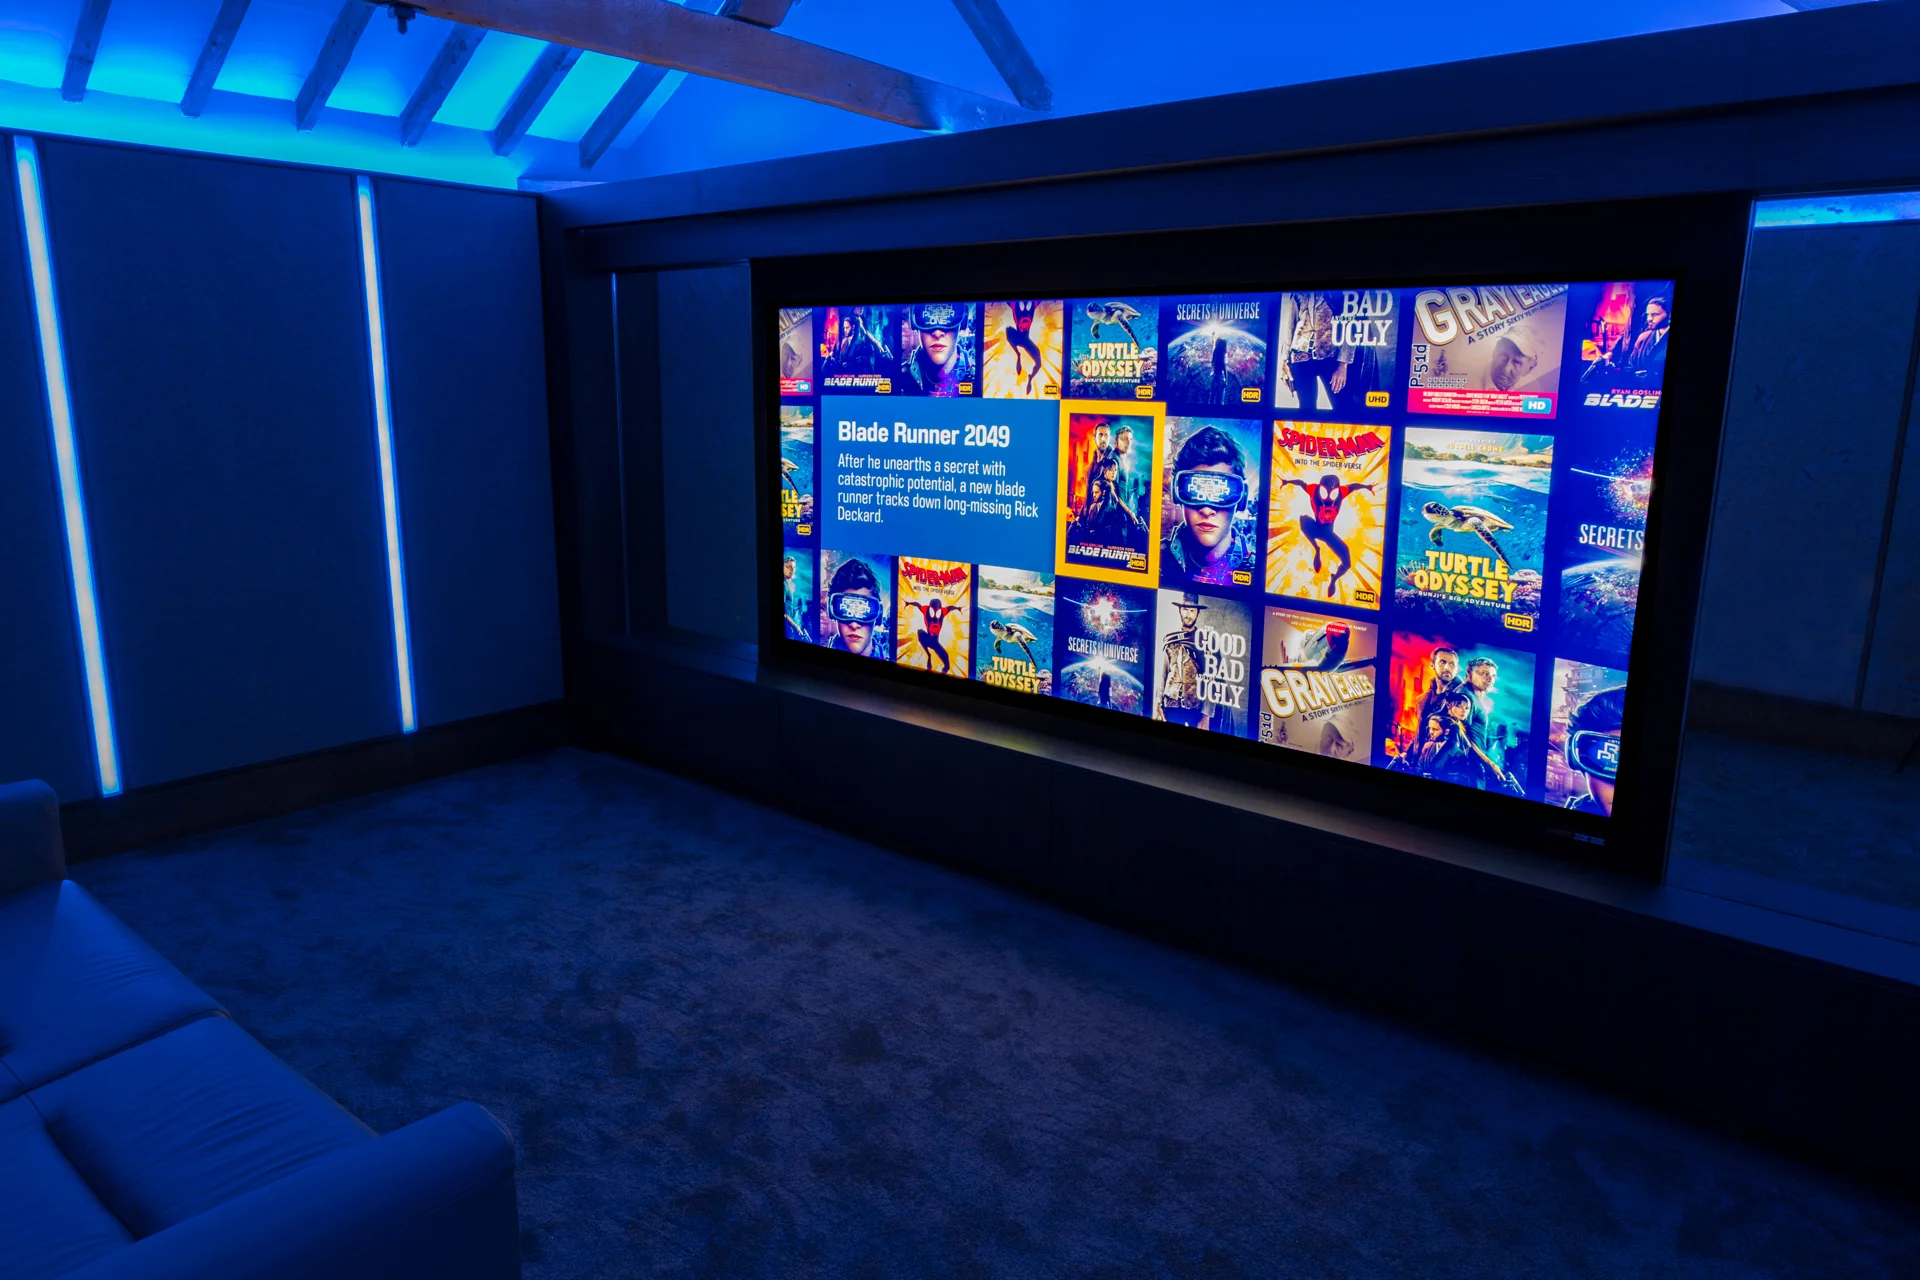
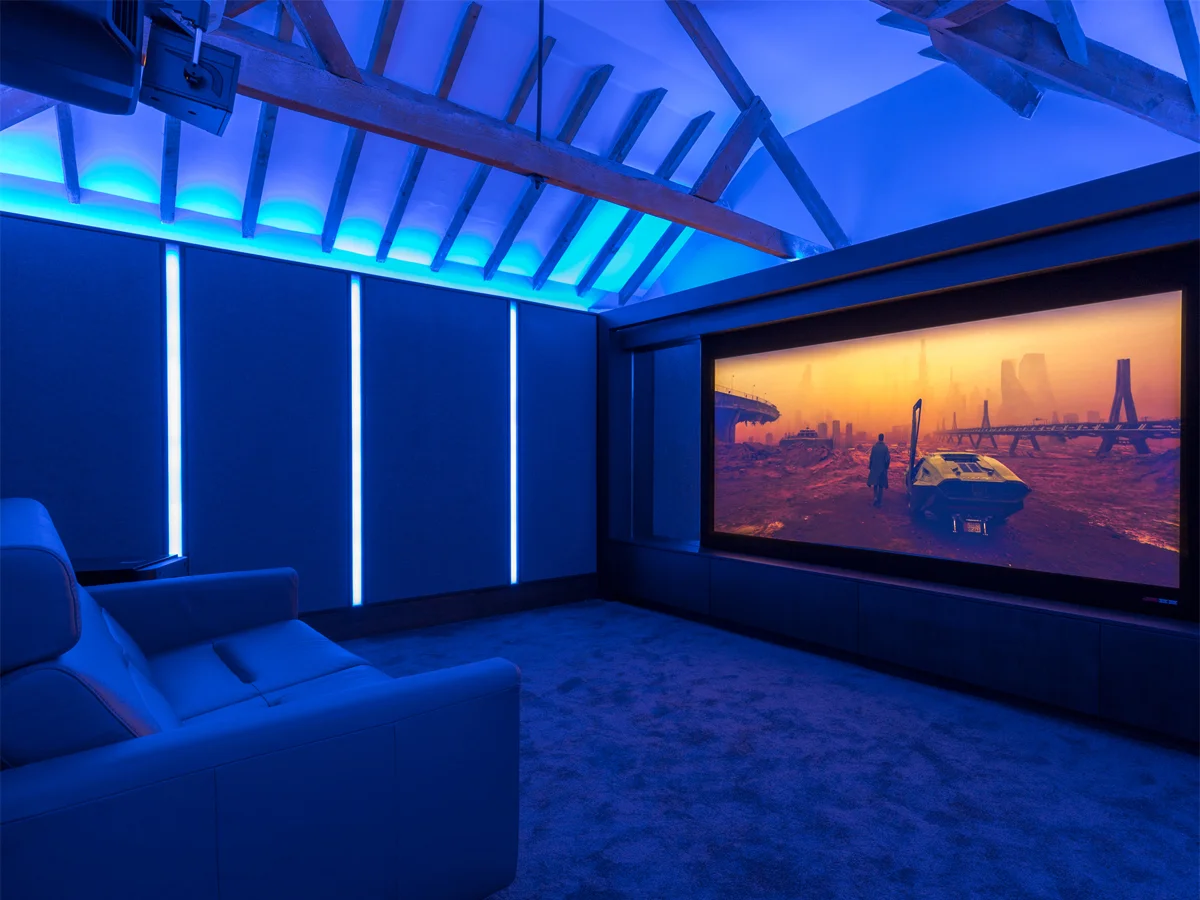
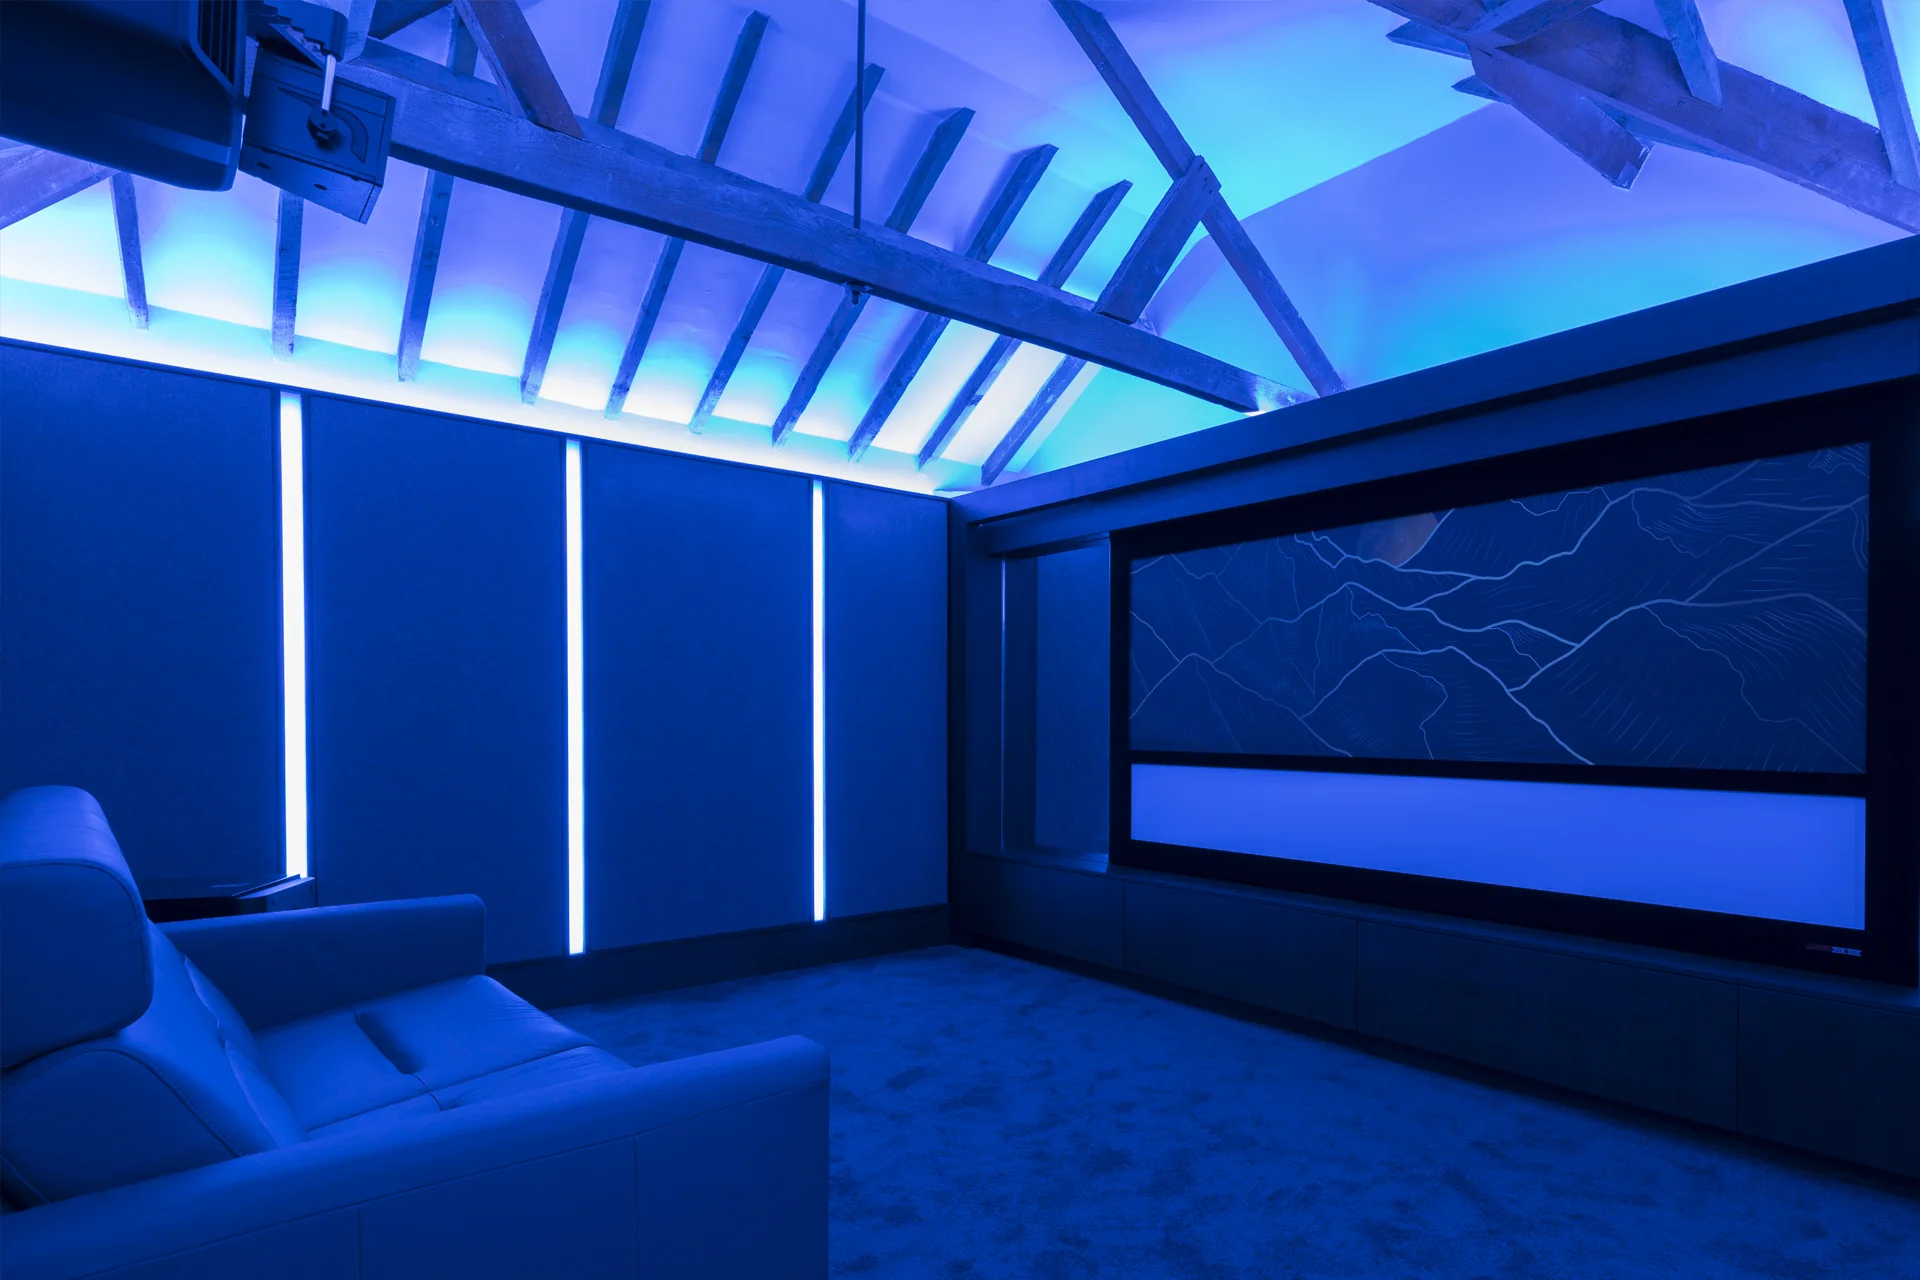
Programming of the system includes creating icons for macro’s on our touchscreen controllers for operations such as movie theatre scene, where the lighting dramatically changes to a blue tone, the masking screen raises, and the projector readies itself for showing the movie.
The programming of the touchscreen controller is fully bespoke and is tailored to client’s requirements, including operation of lighting, screen, projector, TV, Apple TV, kaleidescape, blinds, curtains etc.
The programmed touchscreen remote is an essential way to operate your movie theatre.
Sit back and enjoy
It’s been thrilling to see how this project has come together. The performance is staggering, and the experience truly immersive. Most of all, as a case study, it shows what can be achieved with the latest build techniques and thorough planning and design preparation.
For information on how we can help you achieve your Home Cinema project aspirations, we would love to hear from you.